


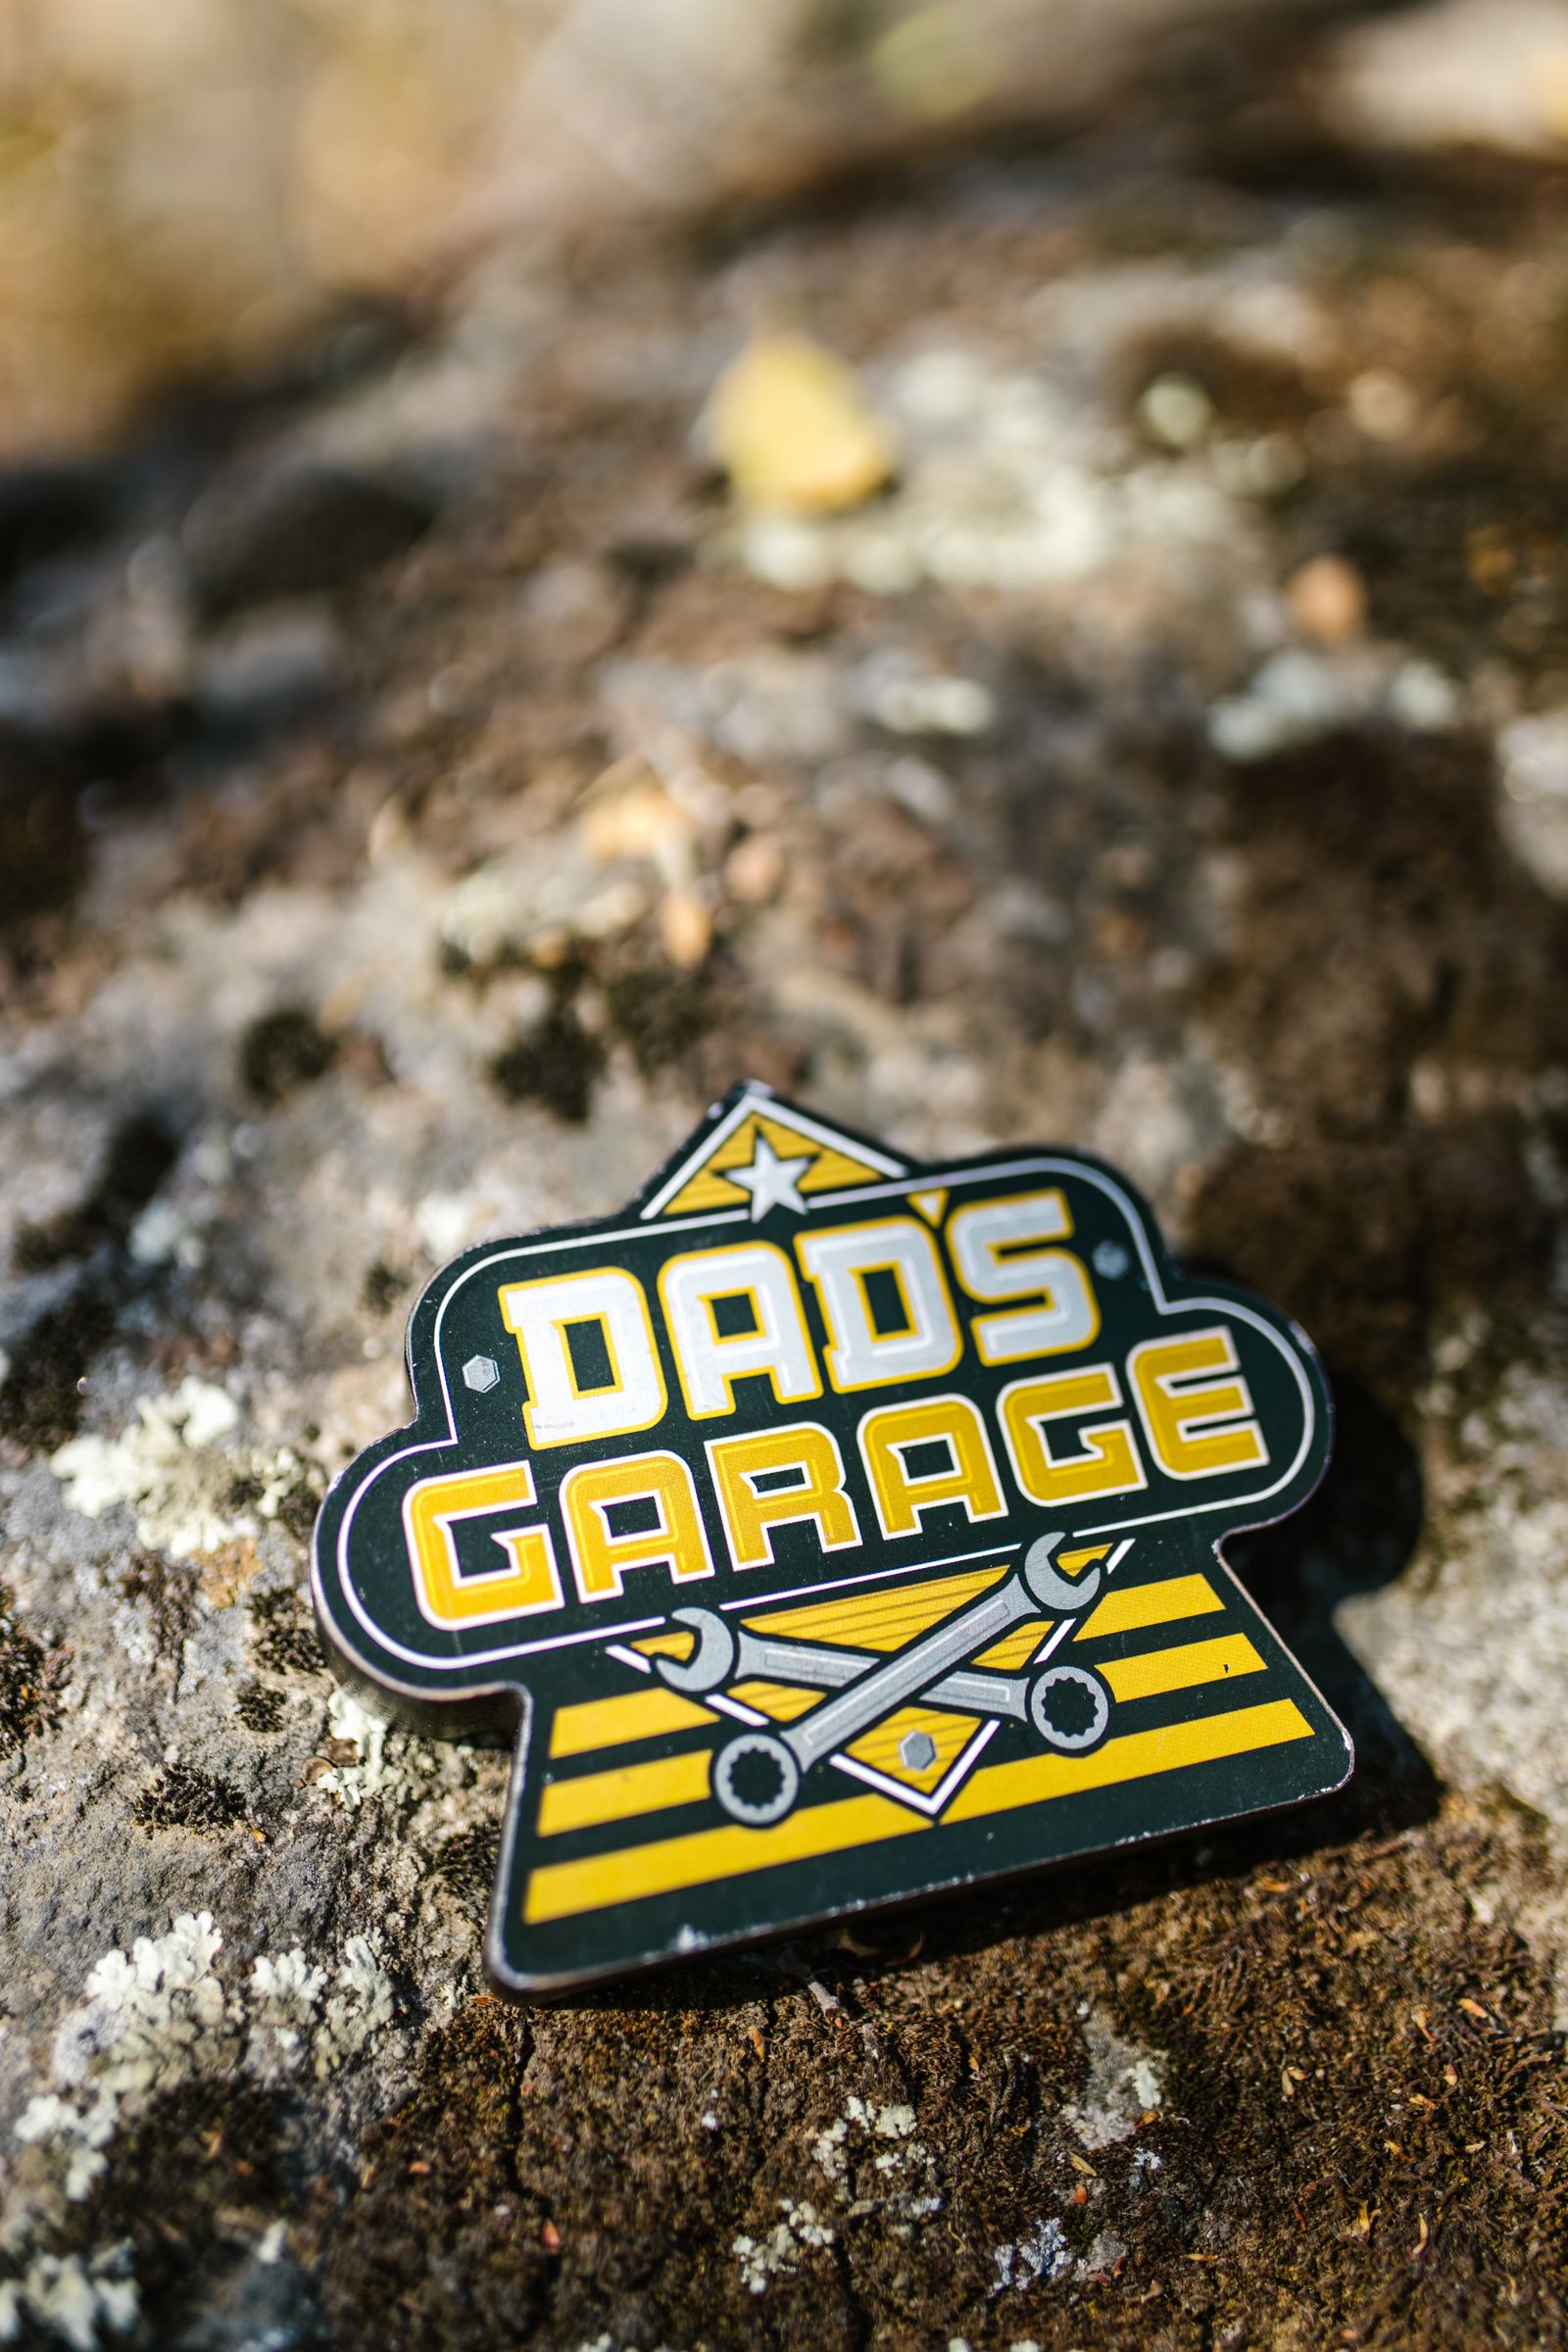

You may have seen how to make your own enamel pins using plastic; but, have you considered making your own enamel pins with 3D printing? Yes, you can 3D print an enamel pin. All you need is a 3D printer, an enamel pin design, and a few supplies to be able to produce your first DIY enamel pin.
The supplies are the easy part, you can find them at your local craft store. Even the 3D design may already be prepared. It’s the 3D printer that might appear daunting. Never fear, there is always away to accomplish anything you set your mind too.
What is 3D printing?
You may be new to 3D printing so it is helpful to understand the basics. 3D printing has been around since 1989, but only in the last decade has it been discovered by hobbyists.
3D printing is an additive manufacturing process, which means, material is added layer upon layer to create an object. You can create anything with 3D printing, even enamel pins.
Let me illustrate how common 3D printing has become. I know three families in my own neighborhood that own 3D printers. One a teenager who prints chess pieces and broken hooks, a 10-year-old that likes to print cookie cutter molds with his family, and a third teenager who once printed a wrench for his dad.
The wrench story is actually interesting. The dad struggled for hours to remove a nut off a bolt because he didn’t have the right wrench size. The son seeing the struggle took it upon himself to use his 3D printer to print the correct sized wrench. Ultimately, the wrench did not have enough strength, but the bond between the dad and son grew tremendously.
I don’t have a 3D printer?
No worries, 3D printers are becoming more and more accessible and affordable.
You can buy a very basic 3D printer for under $500 dollars and be up and running in no time. Check out the 3D printing for Kids: A Parent’s Guide blog post to see a list of possible beginner options. Or, check your local library or school to find a 3D printer that you could take advantage of.
When I was first learning 3D printing, I personally invested in a 3D printer called the “Toybox”. It is as beginner as it gets, was featured on TV show The Shark Tank, and gets you up and printing in 20 minutes or less. It costs about $300.
How do I make a 3D model design?
Once you’ve solved the 3D printer issue, the next step is a 3D model design. This is an electronic file or image of the enamel pin design you would like to make. 3D printers use a file type called STL.
This may be new to you, but don’t have to be designer or developer to create this type of file. You can convert almost any file type to stl with a file conversion tool like the one found at https://anyconv.com/. This tool will convert pdf, png, ai files and more.
If you are familiar with custom enamel pins you will understand that to manufacture a pin in the traditional way you need an .ai file type. An ai file is much easier to create than a 3D design file type. If you are a pin designer you likely already understand Adobe Illustrator and ai files so you can take your ai file and convert it to an stl file and away you go.
If you are not a designer or have access to a designer there are many free, online applications that will walk you through how to design your own unique design from start to finish and then save it as a STL file type. Once again, refer to the 3D printing for Kids: A Parent’s Guide noted above for a list of free online software you can check out.
Enamel pin supplies.
You have printed your first enamel pin model design and are now ready to create with color.
The next step is supplies.
3D printing is a one-color print process, so it is important to choose a 3D filament color that you want for the finished enamel pin. Most pins are made of silver, gold or black so choosing one of those colors may be a good place to start. The material color is important because it enhances the overall look of the pin. It becomes the dividing lines between each enamel color. Think of an outline of a picture in a coloring book. You color the picture, but the black lines are still seen.
You will need the following supplies:
Acrylic paint
This is the enamel you add to the pin design. You can buy it at any local craft store in many different colors, ask for acrylic paint. Buy a variety of colors to really enhance the pin design.
Two-part epoxy glue
The epoxy glue is mixed with the acrylic to help it harden.
Scraps of cardboard
The cardboard is used to put your paint on to make it easier and quicker to paint and mix the acrylic with the glue. It makes clean up much easier as well.
Small disposable cups
The cups are used for mixing the glue.
Toothpicks and a small mixing stick
The toothpicks and small stick are used to mix the acrylic and glue, as well as to apply the mixture to the pin model.
Pin backs or tie tacks
The pin backs are the pointy part of the pin. You can purchase these as well. There are various styles some that come with a peel and stick safety pin or the traditional nail and clutch.
The enameling process
- Gather all the supplies necessary, and place on a good working surface, to allow you to spread out a little.
- Be prepared to work quickly since the glue dries in minutes.
- Decide which colors you will use for your design and dab a small portion of each color onto the cardboard.
- Squeeze a small amount of glue onto the scrap cardboard, add a dot or two of paint and mix quickly. Glue darkens as it hardens so mix your paint accordingly if you want brighter colors.
- Using a tooth pick, move blobs of the paint/glue mixture to the pin mold and spread neatly in the section desired.
- Repeat for each different color to completely fill and cover the entire pin design.
- Allow the painted pin to fully dry.
- Attach the pin backs to the back of the pin mold using the peel and stick style attachment or using a hot glue gun for the traditional nail and clutch.
Enjoy your enamel pin
Congratulations, you’ve made your first custom enamel pin from scratch. You understand the process, and now can repeat it over and over again to create an entire collection of custom enamel pins.
The disadvantage of the DIY method is it takes time to produce one pin. However, the advantage is you get a one of a kind enamel pin that you can be proud of. You might find your friends all wanting you to make them one. While making your own pins is great for one, it isn’t so great if you need to make 50 or 100. At this point you already have the design, just talk to custompinsnow.com and we will produce your design in bulk so you can give each friend their own pin. Happy pinning.
