

Turning a treasured photograph into a pin comes with a few steps, including altering the details, color combinations, and size to fit into the limited space.
How do you create portrait enamel pins? To turn a picture into a pin, you need to use the original in a program to create a reasonable copy, but without all the extra bits that will make it harder to make out what the image is supposed to be. There are many tutorials online for this process.
You will need to decide on an ideal portrait image, what pin features you want, and the program you will feel most comfortable using with your skill level. Pins made from photographs can be handmade by yourself, or you can commission the work to be done by someone else. This article will explain what to expect every step of the way, whether you choose to make your own or use a professional service.
Choosing the Right Portrait
As much as we would like to think anything is possible, some images will simply never be capable of being turned into enamel pins. This can be because there are too many fine details keeping the overall picture hard to parse, or it could be because things in the picture are too close or too far away. Before starting the process, you want to make sure your photograph matches the following criteria.
Size of Image
Extreme close-ups and distant images are not going to work for creating pins. You need something in the mid-ground with enough detail while still being far enough away to make out the edges. You also want to try and get an image where the subject is exact and not overlaid by other people, objects, or things.
Details to Keep
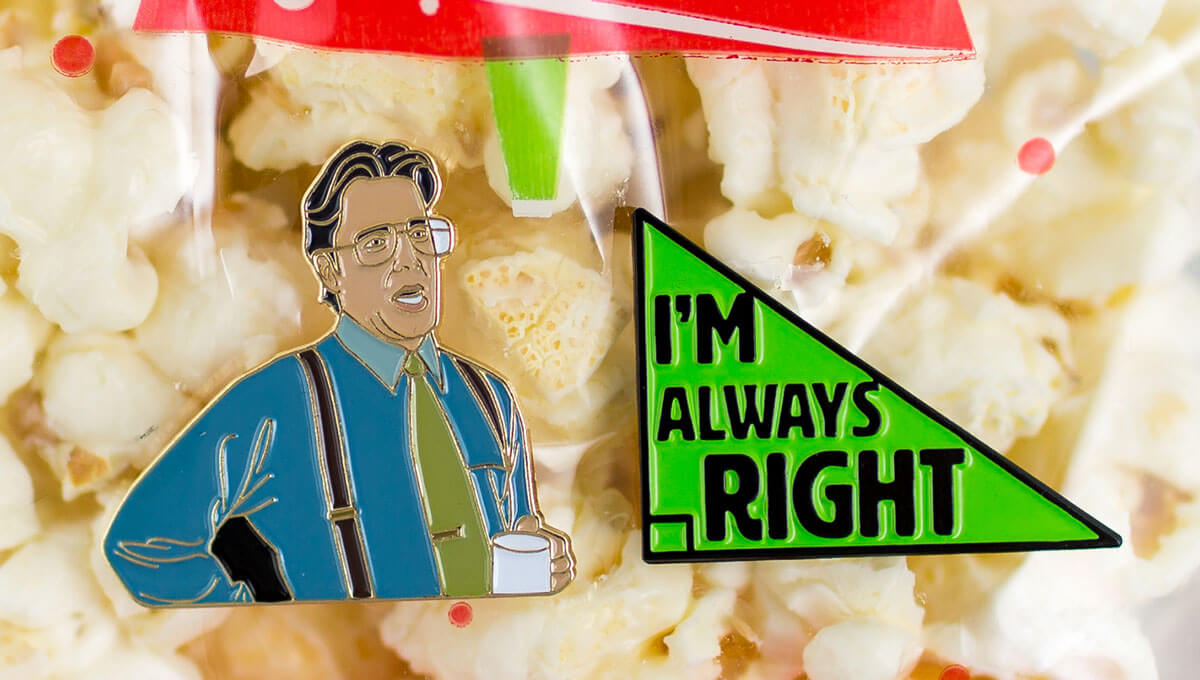
You want to keep the larger details that allow the image to make sense while keeping away from minor details, which would be hard to create in the die-cut process and would only add confusion to the picture. For example, instead of strands of hair, you would have a block of hair color with some highlights, or instead of lips, you could have a line. This allows the enamel pin to be easy to see clearly from a distance.
How the Colors Will Change
It is best if you can keep it to between three and five colors. More than that will up the time per pin and price substantially whether you are doing it yourself or using a company for manufacturing the design. Most factories have a recommended color limit since, at a certain point, the picture simply becomes too murky if you try to use too many.
How to Alter the Image
Before we get into the step-by-step guide on how to actually turn a photograph into an image that can be used to create an enamel pin, you will need to make some executive decisions. Real pictures have hundreds of color variations, and enamel pins are limited to a small handful since the more enamel paint used, the muddier the image gets. The pin’s actual size will also affect how it looks since details will be shrunk down significantly, so something that is easy to see on a 3×5 photograph might be nearly invisible on a 1-inch enamel pin.
Decrease Image Details
You will need to either completely erase or diminish certain aspects of the image and only keep the broad strokes. Here are some of the things that you will need to eliminate from an image for it to still make sense visually once it is reduced to pin size.
- Backgrounds
- Superfluous people
- Pets, objects, or anything unintentionally in the frame
- Small pieces of clothing and complicated fabric patterns
- Small pieces of jewelry
- Any details that will not show up clearly when shrunken down
Change Colors
The first thing to go is going to be whatever is in the background of the image. You will want to choose a solid color (e.g., blue for the sky or water, green for grass, a fun rainbow color just because, etc.) for the background and make sure it complements the other colors that you will be using.
What Programs to Use
There are many useful free and open source photo editing software options online. Some are entirely online, while others can be downloaded to a tablet or PC. Several program options include the following.
- https://pixlr.com/x/
- https://www.gimp.org/
- https://krita.org/en/
- https://pixenapp.com/
- https://inkscape.org/
Step-by-Step Guide
Once you have opened up your program of choice for editing your photograph, there are a few easy steps to take. For more information on using layers and the paint tools, you can look up tutorials on YouTube like this one by Gabrielle Marie or this alternate method by Strictly Kendra, which shows step by step how to turn an image into a cartoon-like version of itself.
- Open up the image that you would like to turn into a pin.
- Crop it down so that anything you do not want in the pin is out of the picture (e.g., background objects, people, animals, etc.).
- Create a second layer set above the image and make it transparent.
- Use a paintbrush to outline all principal areas of the picture on the second layer(e.g., skin, hair, clothes, hats, etc.) and then outline the fine details.
- Once everything is outlined, select the interior of the outlined areas. If an area will not select properly, that means a line is not fully closed.
- Every area that is selected color in using the fill tool. You can make sure it is the right color by using the color picker tool. For example, you can select the color picker tool, click on an area of skin on the image. Then move to the second layer of outlines, click on an outlined area of skin and use the fill tool, which will color the whole selected space with that exact skin tone.
- Once you’re done with the broad outlines, then create a new layer and outline the fine details (e.g., eyes, mouth, eyebrows, eyelashes, etc.), but since you are turning this into an enamel pin, you want only the necessary fine lines, not every single one. Fill these with color in the same way you did the larger sections.
- Clean up any edges as necessary. Add details if needed (e.g., light glinting, hair texture, etc.).
Viola! You now have a photograph that can be turned into a pin. You will want to try adjusting the size to make sure everything is still visible and makes sense once the size you intend to make the pin (e.g., usually between .5 and 2.5 inches). If everything looks good, you can use it to create your pin.
What Kinds of Enamel Pin to Use
There are several different enamel pin styles you can choose from. The significant variations between them are most visible in their cost and appearance. You can choose to have professionals design it for you or not.
Hard Enamel
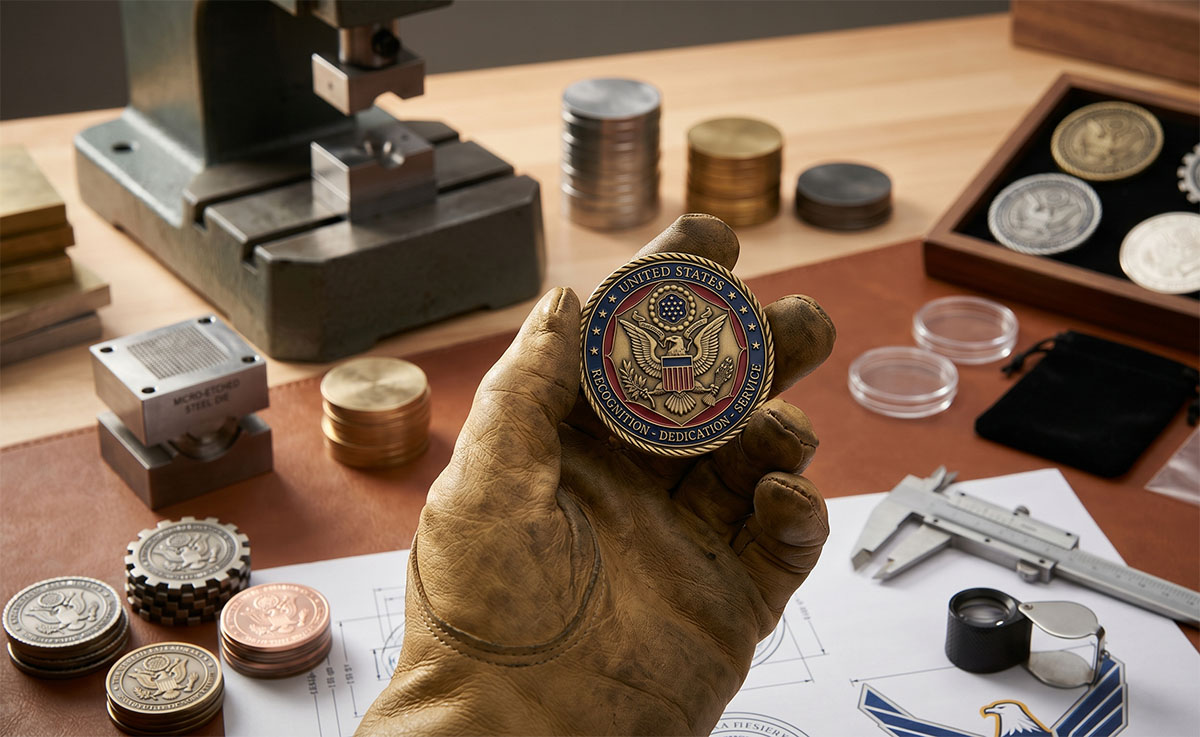
Hardened enamel is caused by layering up the enamel paint several times and then heating it to make it stronger. This results in a very smooth appearance since the paint is at the same level as the metal’s detail lines. These are mostly used for professional pins (e.g., workplace identification, military, sports, etc.).
Soft Enamel
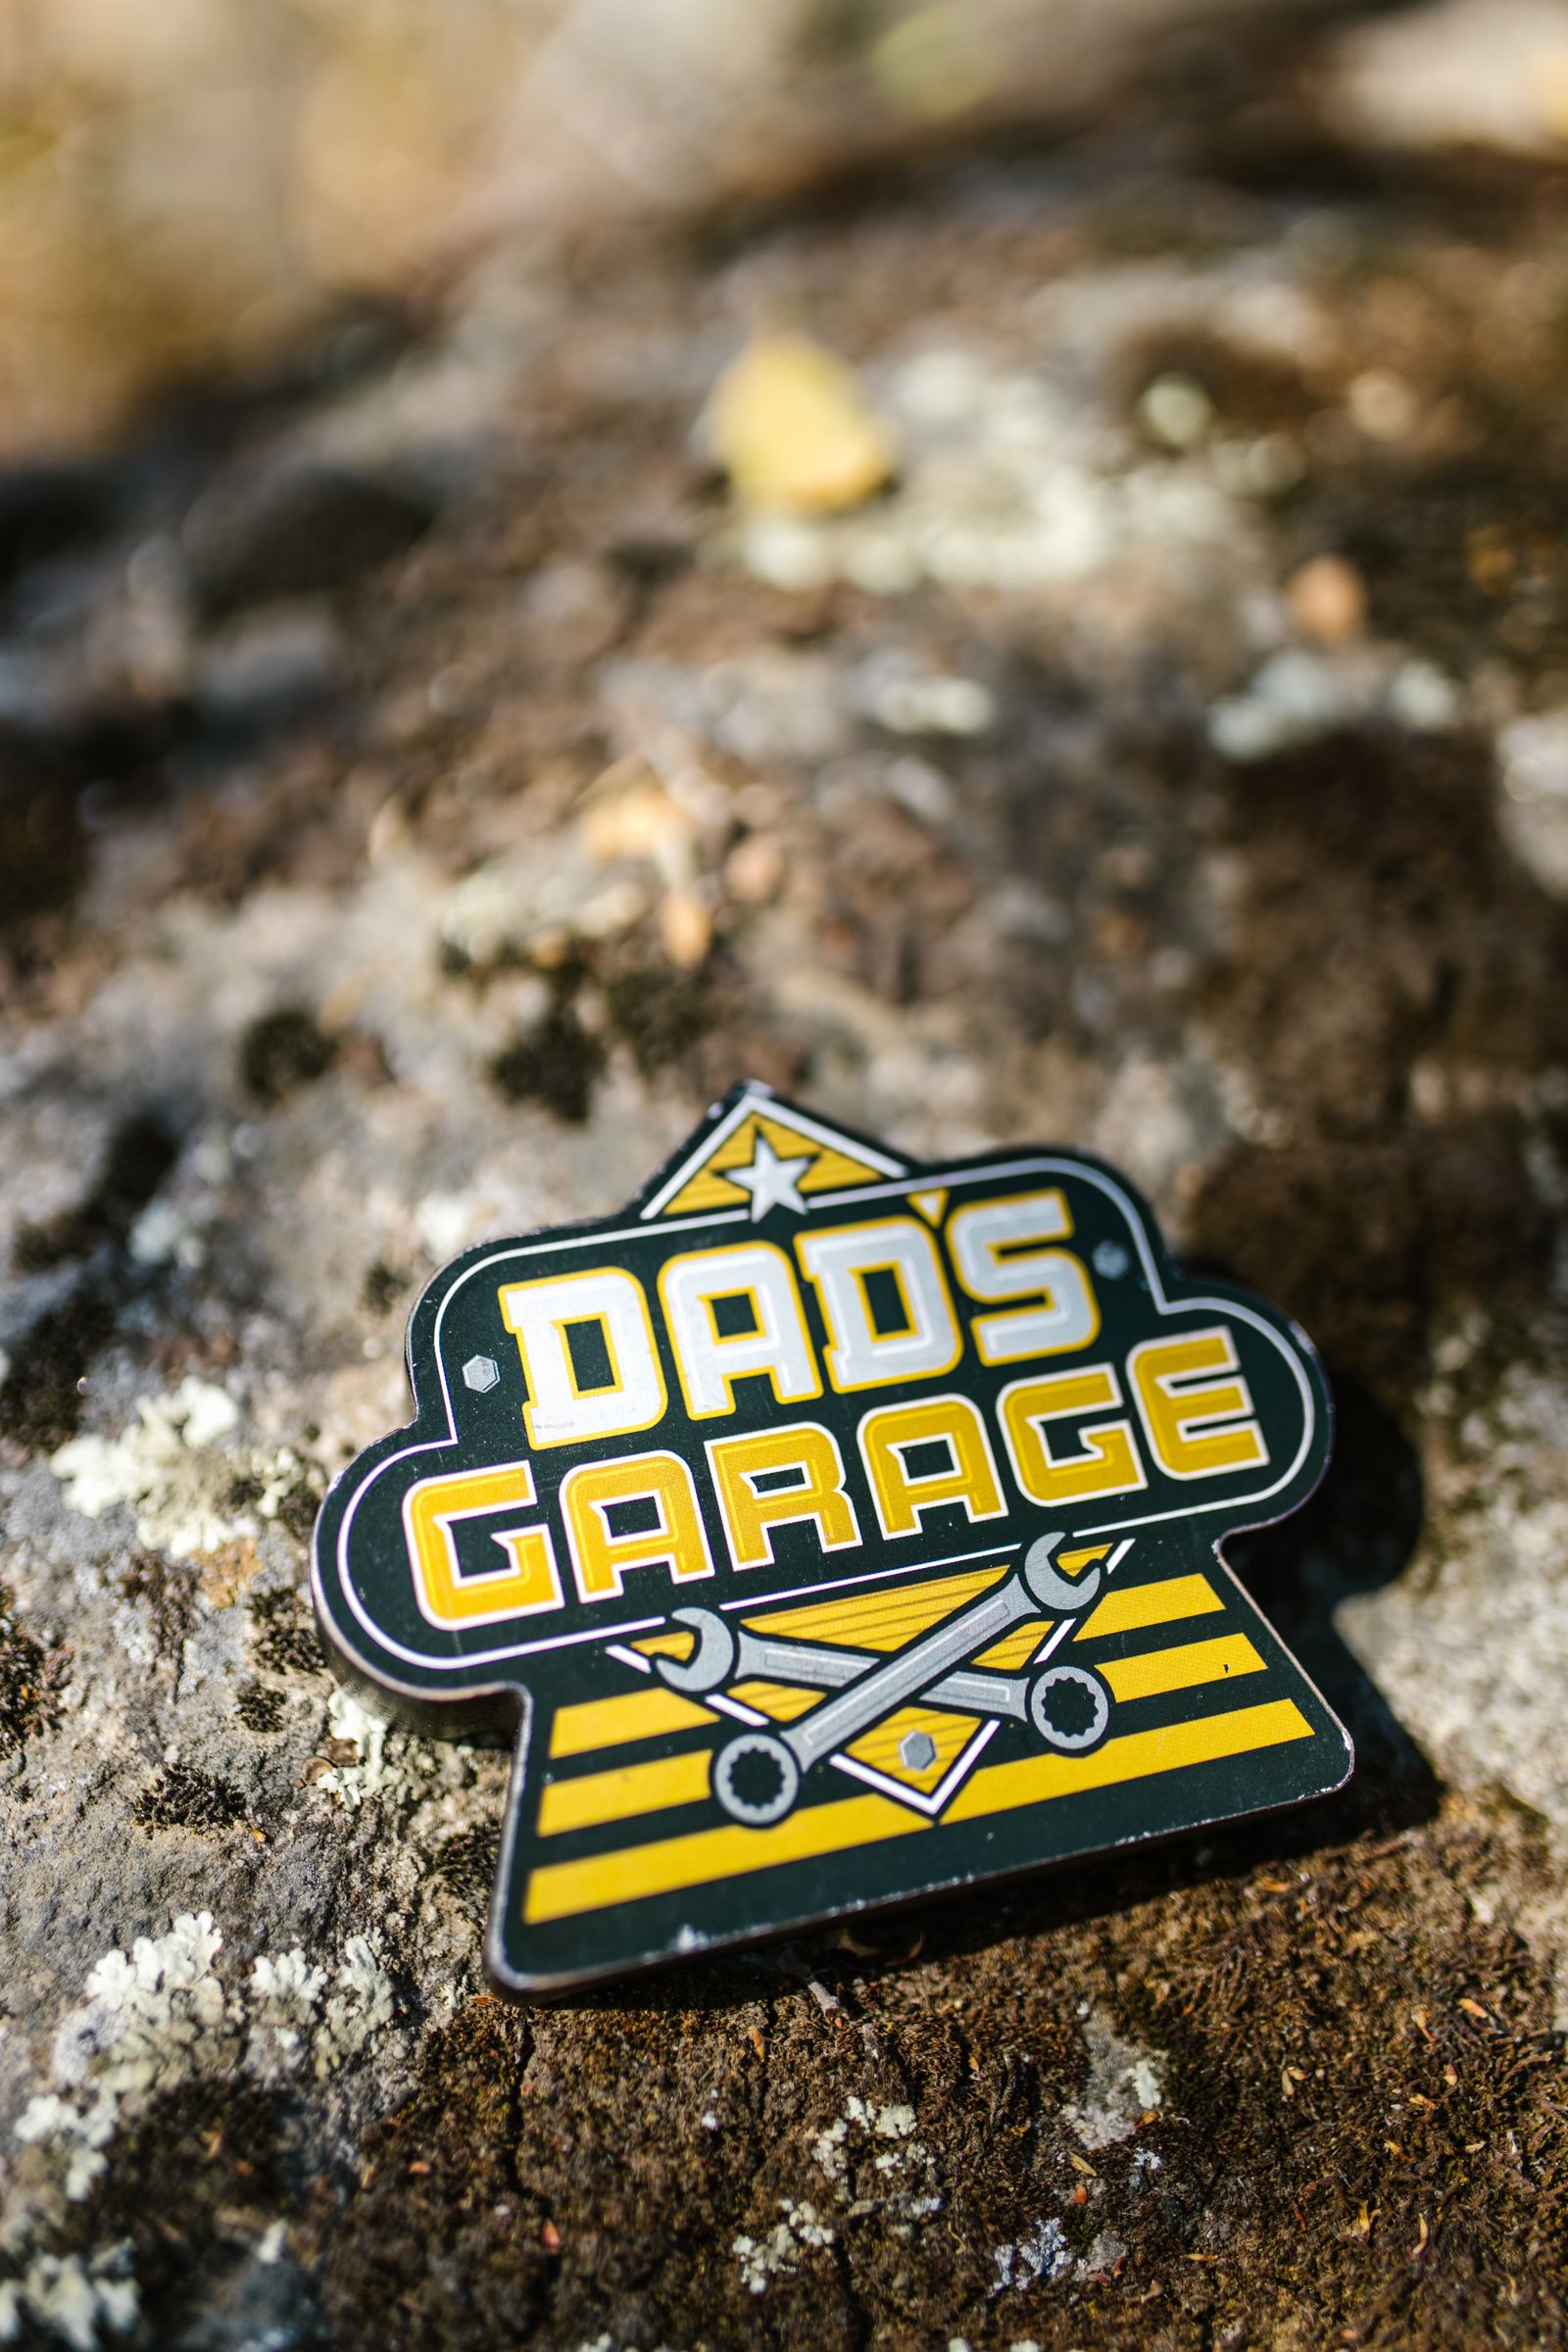
Soft enamel has a textured feel with the paint sinking into the recesses in the die-cut metal. Most fashion pins and logos are made in this style, and they tend to draw the eye more. Only one layer of enamel paint is used in contrast to the multiple layers used in hardened enamel, and it does not go through the same heating process.
Commissioning Someone to Do the Design
For anyone not experienced with using photo editing programs, there are a few options. You can look on sites like Etsy for individual artists willing to transform your image into an enamel pin, or you can use a bigger factory to do it. The cost is less for bulk orders from large companies, but if you only want one as a gift, it might be well worth the higher price of getting an artist to create a beautiful recreation.
Pros
- You do not have to spend time and energy learning to do it yourself
- All you need to do is supply the image, ask for a particular look and let them do everything else
- This can go much faster than trying to do any or all of the process on your own
Cons
- You will be paying extra for the commission service of having them transform your image into something that will work on an enamel pin
- You may not like the style they end up using, which will cause extra time delays as you communicate changes
- You will need to be able to let them know clearly what you are expecting for the final look
Examples of Companies and Individual Creators
You can find customization options for enamel pins from most large suppliers online and within the community of individual artists on sites like Etsy and Deviantart. You can also choose to have a commissioned artist create the image and then upload it independently to a pin creation site. This might save you some money if you intend to do a large bulk order (e.g., 50 or 100 pins) instead of one or a handful.
What to Expect From Your Enamel Portrait Pin
The first thing to know is that an enamel pin, unlike a button pin, will not look exactly like a miniaturization of the picture. You will be editing it so that it will be easy to see, print, and color in. This means that there will be inevitable loss of detail though these kinds of pins are still gorgeous to look at and wear.
Looks
These are smooth, professional-looking images that look great as fashion accessories or accent pieces. While they do not have the same realism that would come from a button pin, they can still be close approximations. Enamel portrait pins of celebrities and pop culture icons are huge collectible items and are one of the most popular genres.
Size
These can be any size from .5 inches to 3 inches though they are generally made between 1.25 inches and 2.5 inches. The larger the pin, the more details will be visible. The size does not affect how many colors should be used.
Quality
You can see some examples of the quality of what to expect on shops like Pin4all’s or Pin8chiDesign’s with their customizable photo portrait pins. They are obviously pared down, but the portrait is still very clear and catches the eye. You can see that they average only around five colors, which keeps things looking clean and crisp.
Cost Associated With Portrait Pins
The cost is going to depend on what you end up deciding to do in terms of commissioning someone or creating the design on your own. If you end up using a typical online bulk supplier of customer pins, then it can cost between $1.70 and $3.00 for the pin depending on several factors (e.g., color choices, size, details, backings, etc.). Individual artists usually charge much more per pin, with it generally being between $3.00 and $12.00 per pin.
Button and Wood Pins as An Alternative Option
Button pins are actually much easier to make from photographs than enamel pins. If you are not specifically going for the die-cut look, you will save significant time, money, and energy by using the button pin format. They do not have the same longevity or sleek, professional appearance, but for personal gifts or one-time event pins, they would be ideal. Wood pins are actually a really great alternative to enamel because they can have the same general look and feel of enamel, but the base is wood instead of metal. You still get exciting shapes, a variety of colors, and the same backing options that are available for enamel pins. One example of this type of pin is the couple’s customization pin by UseOnesBeam on Etsy.
