


Customize pins are found world-wide and therefore, you will find pin fanatics world-wide. People love collecting pins, trading pins, and yes making their own customized enamel pins. If you’re a fanatic and haven’t made your own customized pins, this guide will help you understand the basics of designing pins, making pins, and understanding the different types of pins.
Customized enamel pin basics
If you aren’t familiar with enamel pins, they’re metal pins that can be hooked to clothing. Enamel pins are made of iron, brass, aluminum or copper. They can be made into a variety of designs, shapes, finishes, and size and are decorated with various enamel colors. The design and enamel is what makes customized pins unique.
When deciding on the design for your customized pin you should consider size and quantity. These two factors influence how much you end up spending on your enamel pins.
The process involved in making pins is not so hard. There are a variety of different types of enamel pins including hard enamel pins, soft enamel pins, printed pins, and die struck pins which will be described in detail later.
This guide will help you understand all you need to know to make your own customized enamel pins.
How to design a customized enamel pin
When you start thinking of different designs for your pins, consider many ideas but focus on your main purpose for the pin to narrow down your choice. Not all ideas work well as a customized pin. Understanding the process of making a pin will help you understand the differences in pin artwork from regular print artwork.
Pins have to be filled with enamel and since enamel is paint you have to have metal borders surrounding each color. This is one unique aspect about pin production. You might have new ideas of designs in mind or want to re-create a design that already exists. Either way you need to adjust the design to ensure only solid colors are used and there is a line around every color.
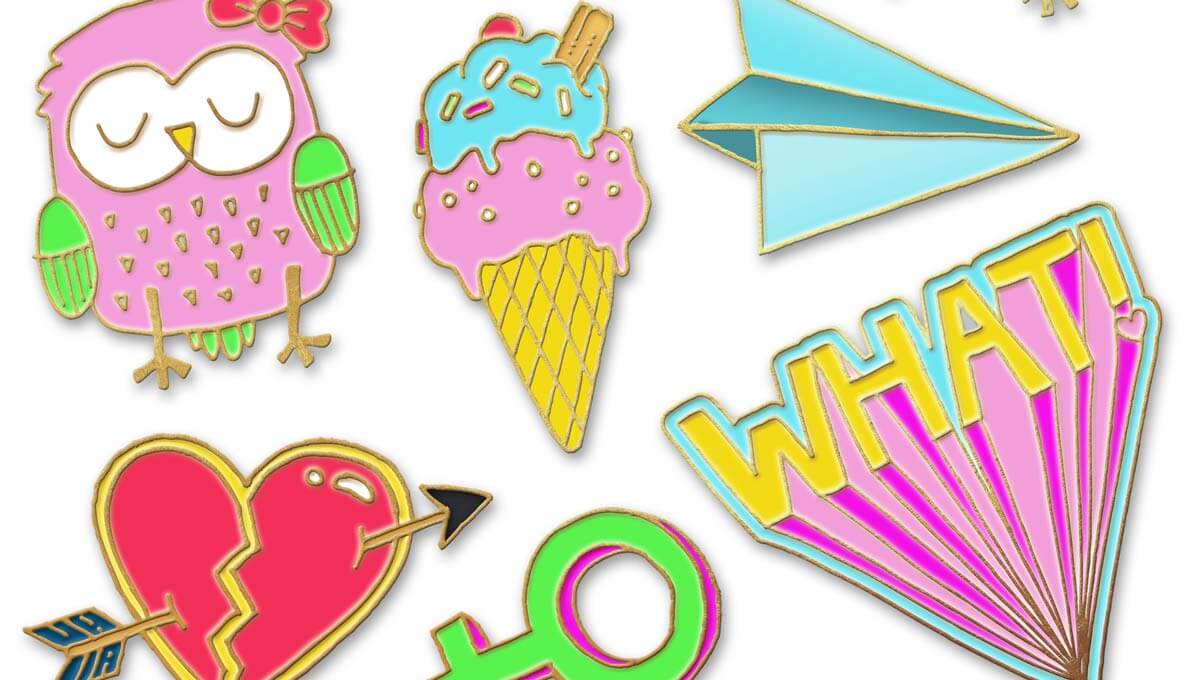
Simplicity is key with pins. It doesn’t have to be complex in order to have a strong impression. You can spend less by reducing the color count by mixing similar colors.
Customized pins can range from half inch all the way up to 3 inches. Size will determine how much detail you can fit into the pin. One mistake many designers make is designing a blown-up version of the artwork. At 5-6 inches details may look great, but when scaled down to a 1-inch pin, those details get lost and often make the design unrecognizable. We like to suggest the eye ball test. Scale the design to actual size, look at it, and if there are any details you cannot really recognize with your eyes is most likely how it will turn out on the pin. If you find issues, adjust the design and remove those tiny details.
How to make customized enamel pins
The design may have been the easy part, but moving onto the making of the pin may cause anxiety and a feeling of being overwhelmed. This is natural as most people are not customized pin manufacturers. But no need to worry, making customized enamel pins can be left to the professionals and they will walk you through the entire process. The process is really pretty simple, and all you have to do is choose a few options: size, design, metal, and type of pin. Someone else may be actually making the pin but knowing the process will help you make the best choices.
In order to create your custom pin design, a master mold or die is created by cutting into metal. The cutting into metal is done by a cnc machine based on a vector file. The vector file is your design converted into lines which the cnc machine will understand.
The mold or die is stamped on a thin metal sheet producing the individual pins. The individual pins are then trimmed with a cut tool to remove excess metal not part of the pin design. The individual pins will have areas on the pin that are sunken and other areas raised.
The raised areas or borders around the sunken area is what holds the liquid enamel in place. If the metal border did not completely surround the color it would run into another color. While technology is changing and coloring machines are now used to apply the enamel to the recessed areas, some pins are made by workers dispensing enamel through small syringes. This is the most time-consuming part of pin manufacturing.
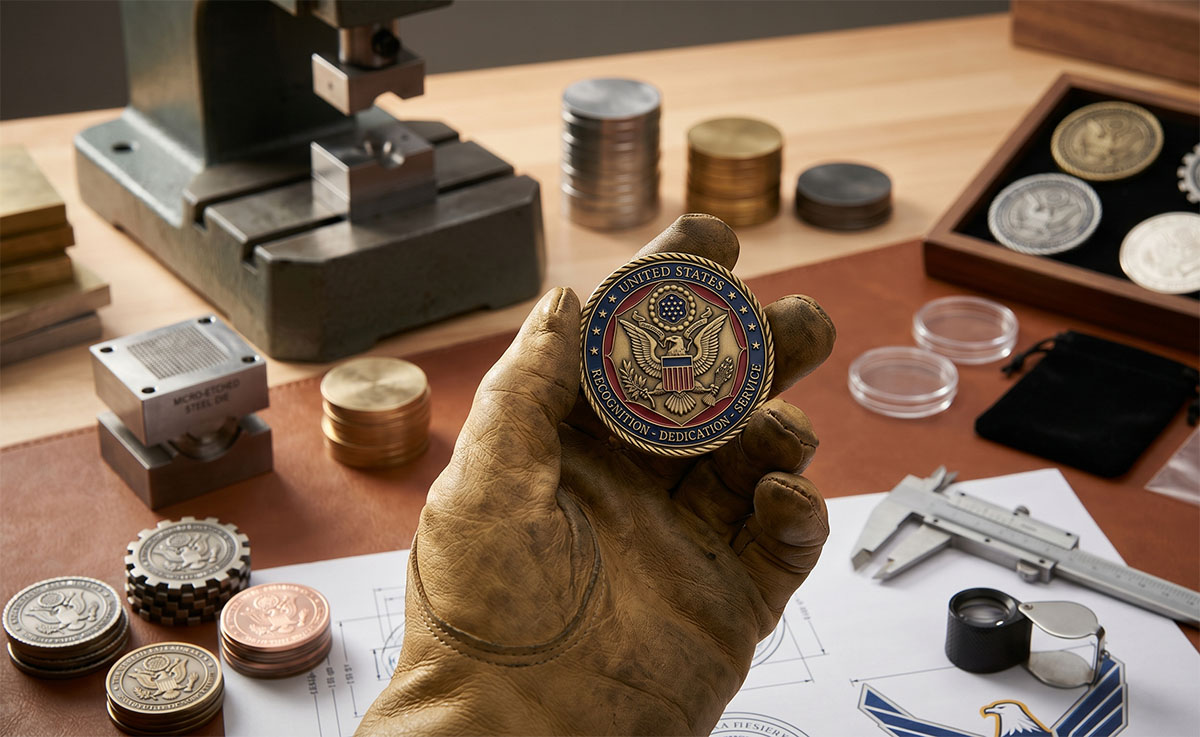
The last step involved in the process is plating the pins. You choose a metal finish like gold, silver, or copper. This metal finish is what will cover the back of the pin and the lines that separate the colors. It is important to choose a finish that complements the colors in your design. The metal finish is applied by soaking the pin in a solution that reacts and attaches to the metal.
Once finished pins are cleaned, polished and packed for shipping.
4 Types of customized pins
One of the choices you will need to make is what type of customized pin do I want to make. Sometimes the type is determined by your design, others times it is just a preference. We will briefly describe each type to help make your decision easier.
Hard enamel pins
Hard enamel pins are flat and smooth in appearance. During the process of making hard enamel pins, the enamel is filled to the top of the metal outlines and then hardened by heat. Once the enamel has hardened the pin is ground smooth and polished.
With hard enamel pins, the enamel is put into the pins before metal finish is applied and then metal finish is applied. All metal finishes are available for hard enamel except die metal finishes like black, white, green, etc. Die metal finishes would be polished of during the polishing stage. Hard enamel pins are durable and long lasting. Most people consider them jewelry quality.
Soft enamel pins
Soft enamel pins are textured and uneven in appearance. They almost have a 3D effect. During the process of making soft enamel pins, the enamel is filled into the recessed areas and then air dried causing it to settle leaving the outline borders raised. On soft enamel pins the metal finish is applied before coloring so die metal colors work very well on soft enamel pins. So, if you want a black metal outline on your finished pin, soft enamel is the right choice.
Soft enamel pins are the most popular and most cost effective. You get a great quality pin for the least amount possible.
Offset printed pins
Offset printed pins are just that printed. The design is printed directly onto the metal and then cutout. Printed pins are a good choice when you want blended colors or gradient colors of have details that are too small to apply enamel. Offset printed pins are the least popular but necessary depending on your design.
Die struck pins
Die struck pins are exactly the same as hard enamel or soft enamel pins but they do not have any enamel color. The pin is made up of only the metal finish which is typically gold or silver. You can still distinguish the design because of the raised and recessed areas on the pin. Often sandblast is applied to the recessed areas to create contrast between with the raised portion. Sandblast is a grainy texture applied to the metal.