


Key Takeaways
- Match Method to Fabric: Always sew patches onto leather or heavy nylon; iron-on works best for cotton and denim.
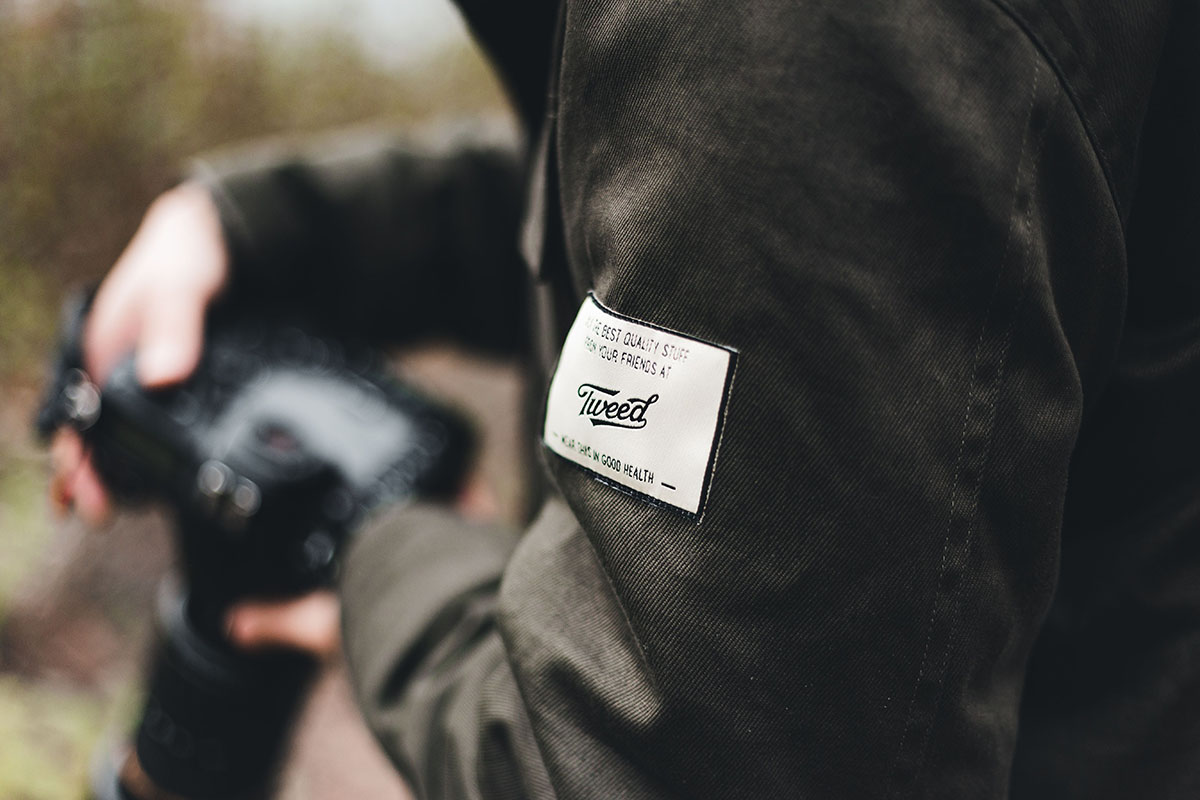
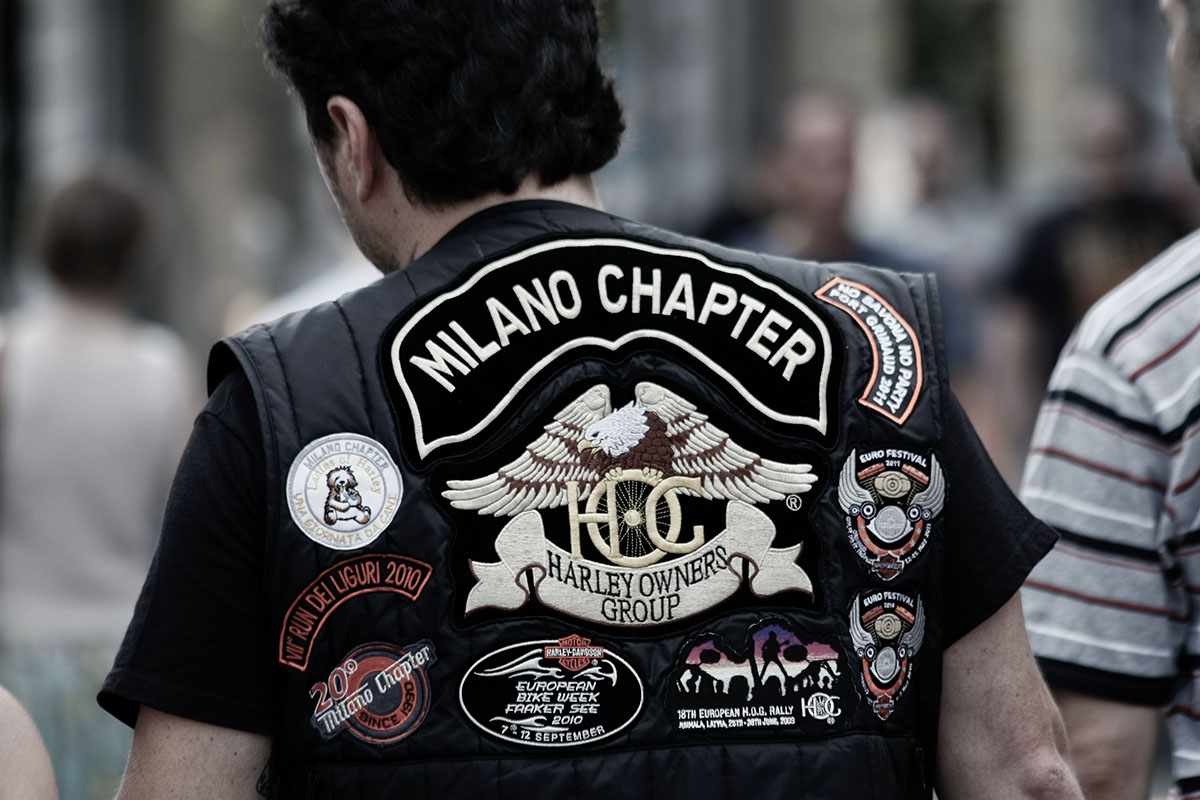
- Placement is Purpose: Use the back of a jacket for "the story" and the chest or sleeves for "the details."
- Stitch for Security: Even if using an iron-on patch, a few hand stitches around the perimeter will double the life of the customization.
You want your jackets, bags, and hats to feel personal, not mass-produced. You can customize everyday gear with DIY patches by choosing simple designs and attaching them with embroidery, iron-on backing, or clean hand stitching that fits your style and use. We focus on practical ideas that work on denim, canvas, and twill without special equipment.
We walk through the materials and tools that save time, then show creative patch ideas that hold up on jackets while staying flexible for bags and hats. You’ll see how placement, size, and edge finishes change the look and durability, so your patches feel intentional instead of improvised.
We also cover care basics to keep patches secure through wear and washing, plus when it makes sense to upgrade to professionally made options. If you want consistent results for teams, brands, or events, we make it easy to request a free quote for custom patches through Custom Pins Now.
Essential Materials and Tools for DIY Patch Projects
Successful patch projects depend on smart material choices, the right tools, and proper surface prep. When we focus on durability and fit from the start, patches last longer and look intentional.
Choosing the Right Patches
Start by matching patch type to how you plan to use the item. Embroidered patches work well for jackets and hats because they hold detail and resist wear. Woven patches suit logos with fine text, while printed patches fit photo-style designs. For bags that see friction, thicker borders and merrowed edges reduce fraying.
Backing Type Selection:
- Iron-on: Best for denim jackets and canvas bags. It offers fast application, though we recommend a few "anchor" stitches for longevity.
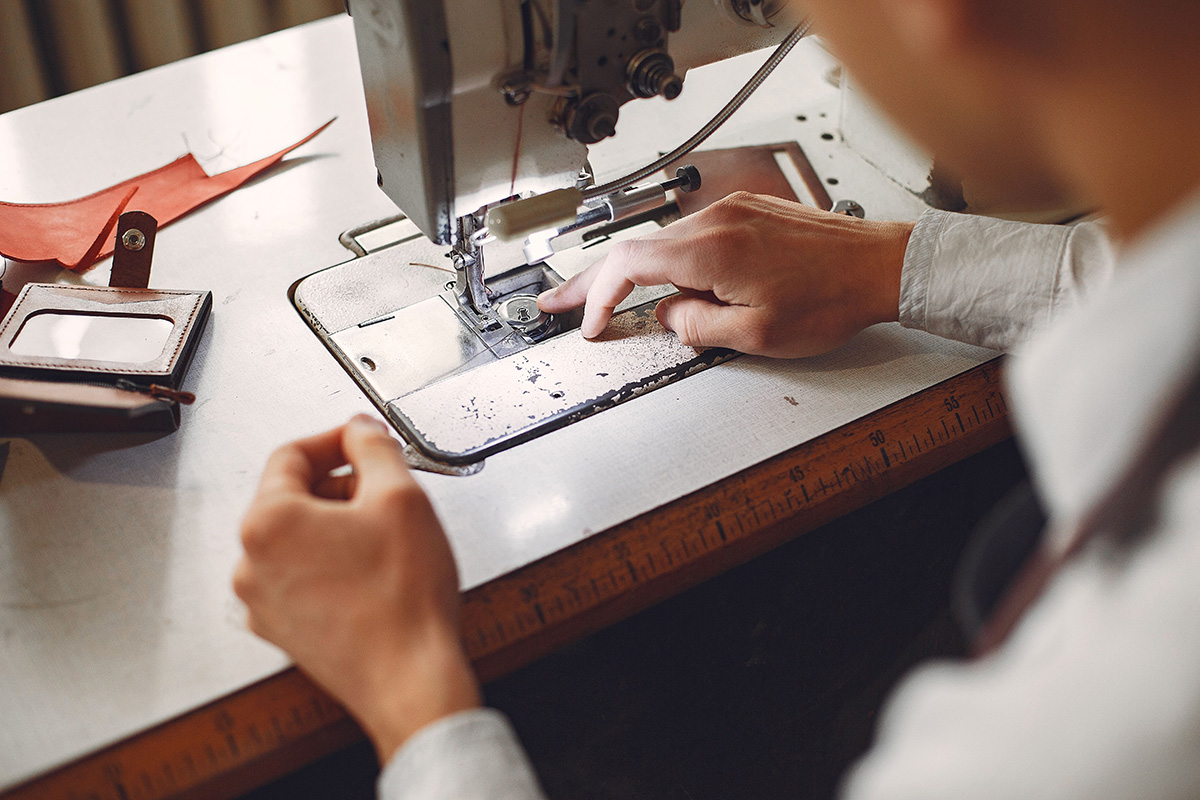
- Sew-on: Best for leather, nylon, and heavy-wear items. This is the most secure and permanent option.
- Velcro (Hook and Loop): Best for tactical bags and uniforms. These are removable and allow you to swap designs instantly.
Must-Have Tools and Supplies
Good tools save time and prevent damage. At a minimum, keep a sharp hand needle, polyester thread, and fabric scissors on hand. Polyester thread resists moisture and UV fading better than cotton.
For iron-on applications, use a household iron with adjustable heat and a pressing cloth (like a thin pillowcase) to protect the patch and garment.
Helpful Extras:
- Seam ripper for repositioning mistakes.
- Tailor’s chalk or a washable fabric marker for placement guides.
- Pins or fabric clips for alignment.
Preparing Your Surface for Patching
Preparation determines whether a patch stays flat. Always wash and dry fabric items first to prevent shrinkage after the patch is attached. For structured hats or bags, clean the surface with a lint-free cloth to remove dust and oils.
Material-Specific Prep:
- Denim/Canvas: Use a flat, hard surface and medium-high heat.
- Leather: Sew only; never use an iron as it will ruin the hide.
- Nylon/Polyester: Use low heat and always use a pressing cloth; these fabrics can melt easily.
Creative DIY Patch Ideas for Jackets
Smart patch design turns a jacket into a clear statement. Placement and texture mixing shape the final aesthetic.
Design Placement and Layouts
Patch placement controls balance and visibility. Start with high-impact zones like the back panel, chest, and shoulders, then build outward.
Placement Strategies:
- Back Panel: Use large woven or chenille patches to create a bold focal point.
- Chest: Use medium embroidered or PVC patches; these are easiest to read at eye level.
- Sleeves: Use small iron-on or woven accents to add detail without clutter.
- Collar: Use minimal text or tiny symbols for subtle, sophisticated branding.
Mixing Patch Types and Textures
Combining patch styles adds professional depth. Try mixing embroidered patches for traditional texture with woven patches for clean lines and PVC patches for modern contrast.
Limit your mix to two or three textures per jacket. Too many materials compete for attention and weaken the overall design. Stick to one dominant color family to keep the look unified.
Personalizing with Embroidery
Embroidery gives you the most control over personalization. Names, dates, and short slogans stitch cleanly and last through regular wear. Choose bold fonts and avoid lines thinner than 2 mm to prevent fraying.
Personalization Ideas:
- A name or nickname positioned directly over the chest pocket.
- A significant year or "home city" placed on the upper sleeve.
- A small, minimalist logo near the bottom hem for a designer feel.
Customizing Bags and Hats with Patches
Patches give bags and hats a clear visual identity. Because these items are often "structured," placement is the most important factor.
Attaching Patches to Fabric Bags
Canvas totes and backpacks handle sewing best, while nylon bags often require careful iron-on application or Velcro. For a commuter backpack, a sew-on method is essential to handle the daily weight and friction.
Design Tip: Place patches on the flattest panels possible. Keep them clear of seams, zippers, and pocket openings to ensure the bag remains functional.
Applying Patches on Structured Hats
Structured hats need extra care because the stiff front panels (buckram) resist needles. Flat embroidery patches work best on trucker hats and snapbacks.
Best Practices for Hats:
- Keep patches under 3.5 inches wide to avoid wrapping around the sides of the head.
- Center the patch on the front panel or offset it slightly to one side for a modern, asymmetrical look.
- Warning: Avoid household irons on hats if possible; the curved surface makes it difficult to apply even pressure. A dedicated hat press or hand-sewing is safer.
Care and Maintenance of Patched Items
Proper care keeps patches secure and colors sharp. Proper washing and quick repairs are key to longevity.
Washing and Storing Patched Accessories
Wash patched items gently. Turn garments inside out and use cold water with a mild detergent. Air-dry flat; the high heat of a dryer can warp the embroidery thread or soften the iron-on glue, leading to peeling.
Care Summary:
- Jackets: Delicate cycle or hand wash; air dry only.
- Bags: Spot clean with a damp cloth; do not machine dry.
- Hats: Spot clean the fabric; avoid submerging structured brims in water.
Repairing Loose or Damaged Patches
Check edges and corners frequently. Early fixes prevent the patch from falling off entirely.
- For lifting edges: Use a tight "whipstitch" with a matching thread color to anchor the corner.
- For frayed borders: Trim loose threads carefully with small scissors and apply a tiny drop of clear fabric glue to seal the edge.