0

Key Takeaways
- Message Before Material: Define what the patch says about the brand before choosing thread, ink, or finish.
- Texture Sells Streetwear: Streetwear rewards bold texture, while fashion labels prioritize finish and consistency.
- Build for Scale: Pick a production method that works for both limited drops and ongoing collection lines.
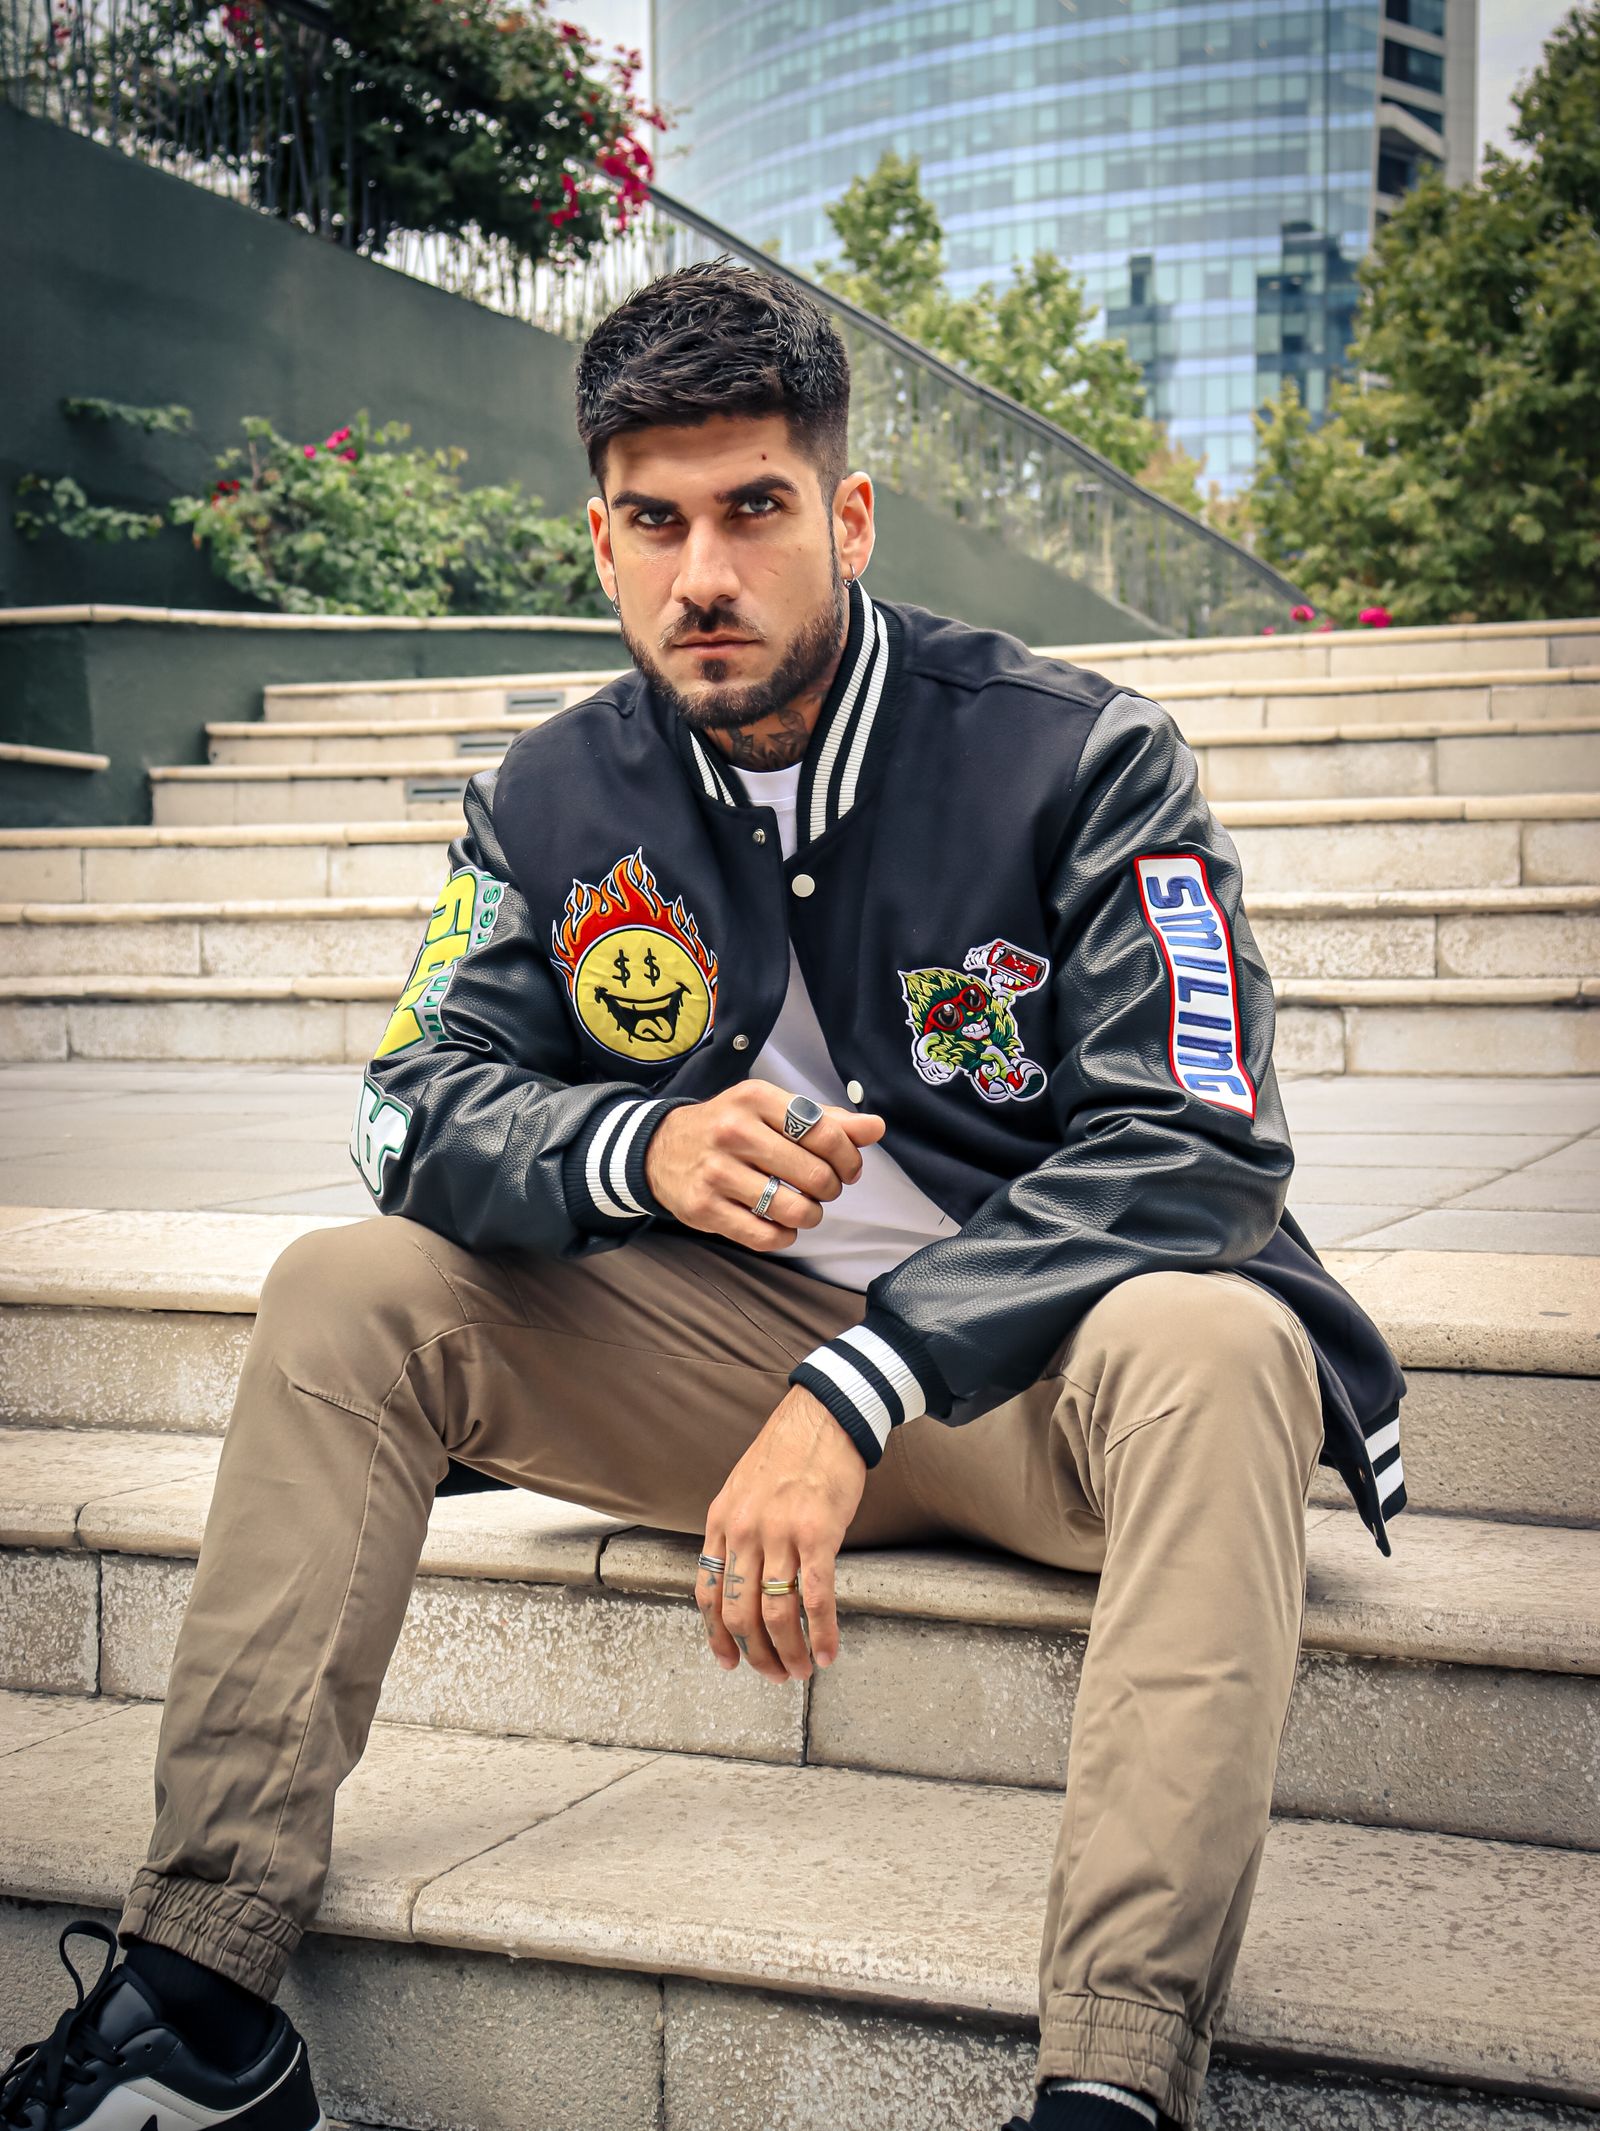
Custom patches play a central role in how fashion brands and streetwear labels express identity, signal quality, and build recognition. We see growing demand driven by personalization, brand storytelling, and hands-on design choices that turn apparel into something people want to wear and keep. When done well, patches support both creative direction and commercial goals.
We create effective patches by defining the brand message, designing clear artwork, choosing the right materials and production method, and integrating each patch consistently across garments and collections. That process balances visual impact with durability, cost, and scalability, which matters for both limited drops and ongoing lines.
We walk through design fundamentals, production options like embroidery and printing, and practical ways to align patches with brand strategy. Along the way, we share how our team at Custom Pins Now helps brands move from concept to production and invites teams ready to scale to request a free quote with confidence.
Patch Design Fundamentals
Strong patch design starts with material choices, clear artwork, and practical sizing. We see fashion and streetwear brands succeed when they balance durability, visual impact, and production constraints from the start.
Choosing Materials for Fashion and Streetwear
Materials determine how a patch looks, feels, and lasts on the garment. Streetwear often favors bold texture, while fashion labels prioritize finish and consistency.
Common options include:
- Embroidered — Best Use: Logos, icons — Key Notes: Durable, raised texture
- Woven — Best Use: Fine text, details — Key Notes: Smooth, thin profile
- Printed — Best Use: Full-color art — Key Notes: Handles gradients well
- PVC or Chenille — Best Use: Statement pieces — Key Notes: Adds depth and weight
We recommend matching the patch material to the garment weight and wash cycle. Heavy patches on lightweight tees can sag over time. If you want help narrowing options, our team at Custom Pins Now can review samples and pricing through a free quote.
Developing Custom Artwork and Logos
Artwork drives recognition, so clarity matters more than complexity. We advise starting with vector files to maintain clean edges at any size.
Keep these points in mind:
- Limit small text to avoid thread breaks.
- Use high-contrast colors for visibility.
- Simplify gradients into solid color blocks when embroidering.
Streetwear brands often build series using the same logo with seasonal color updates. That approach reduces setup costs and keeps branding consistent. We help brands adapt existing logos into patch-ready formats, which speeds up production and avoids revisions.
Selecting Shapes and Sizes
Shape and size affect cost, placement, and wearability. Most apparel patches fall between 2 and 4 inches, which balances visibility and flexibility.
Popular shapes include:
- Circles for badges and emblems
- Rectangles for text-heavy designs
- Custom die-cut shapes for logos
Larger patches increase stitch count and price, so we suggest testing placement on real garments before final approval. Sleeves, chest panels, and caps each impose different limits. We review dimensions during quoting to prevent resizing delays and help you move faster to production.
Patch Production Methods
Production choices shape how your patches look, feel, and perform on garments. We focus on technique selection, clean artwork setup, and strict quality checks because these steps protect your brand and reduce costly revisions.
Embroidery vs. Woven Techniques
Embroidery and woven patches serve different design goals. Choosing the right method saves time and avoids mismatched expectations.
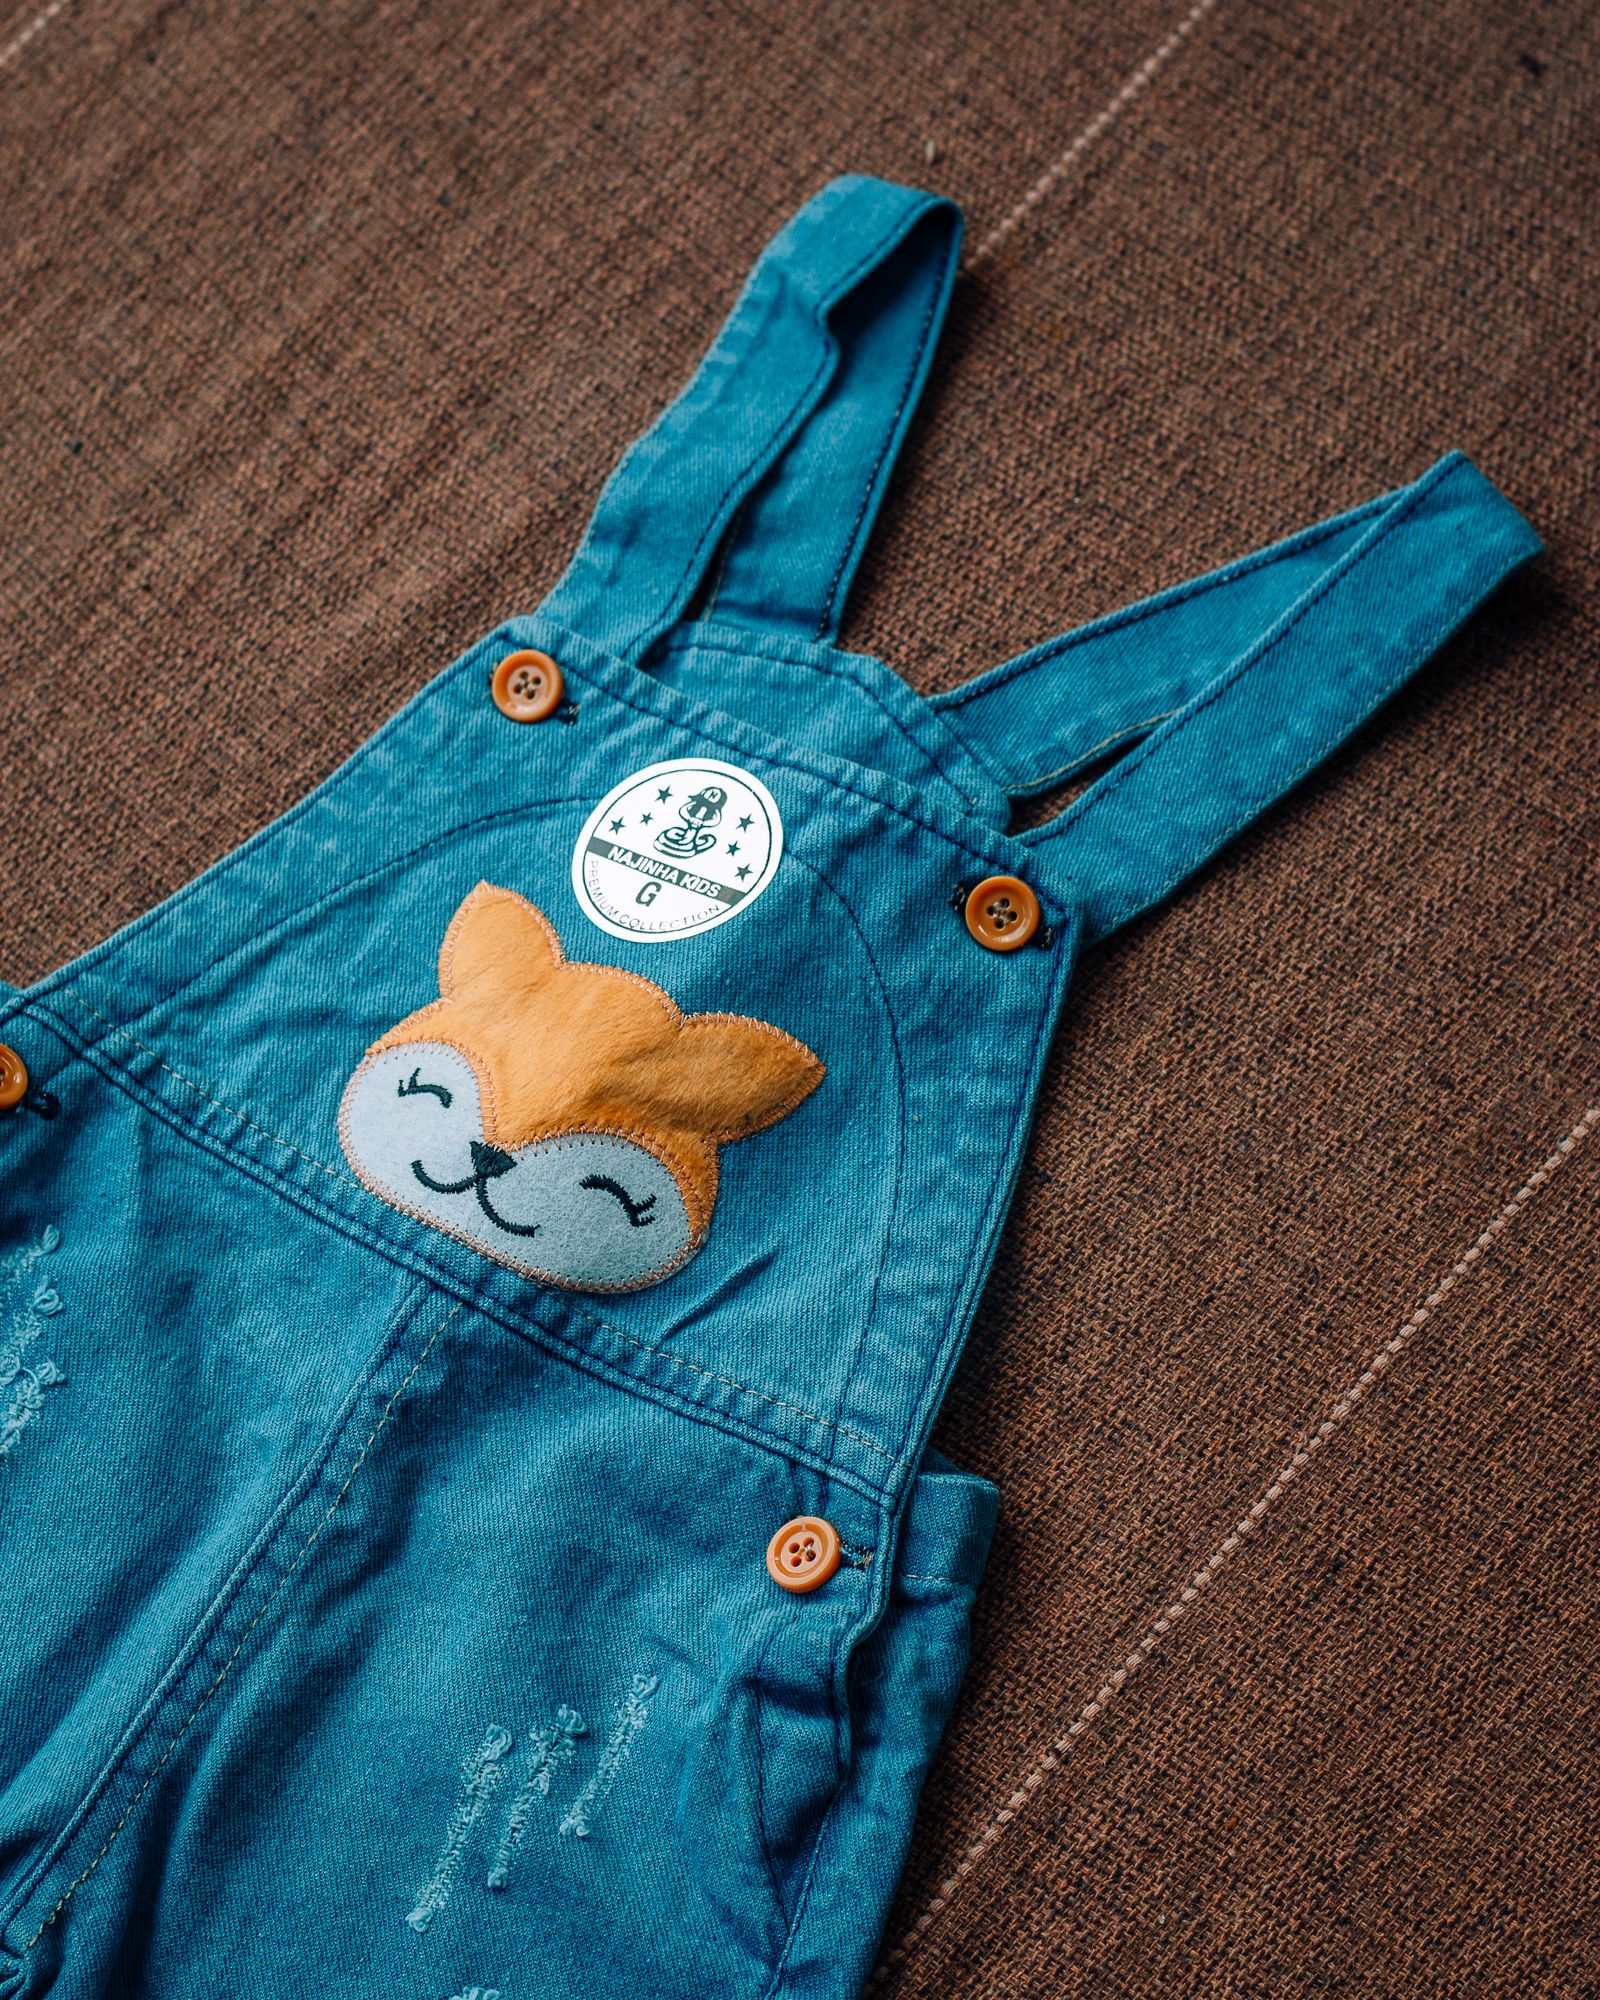
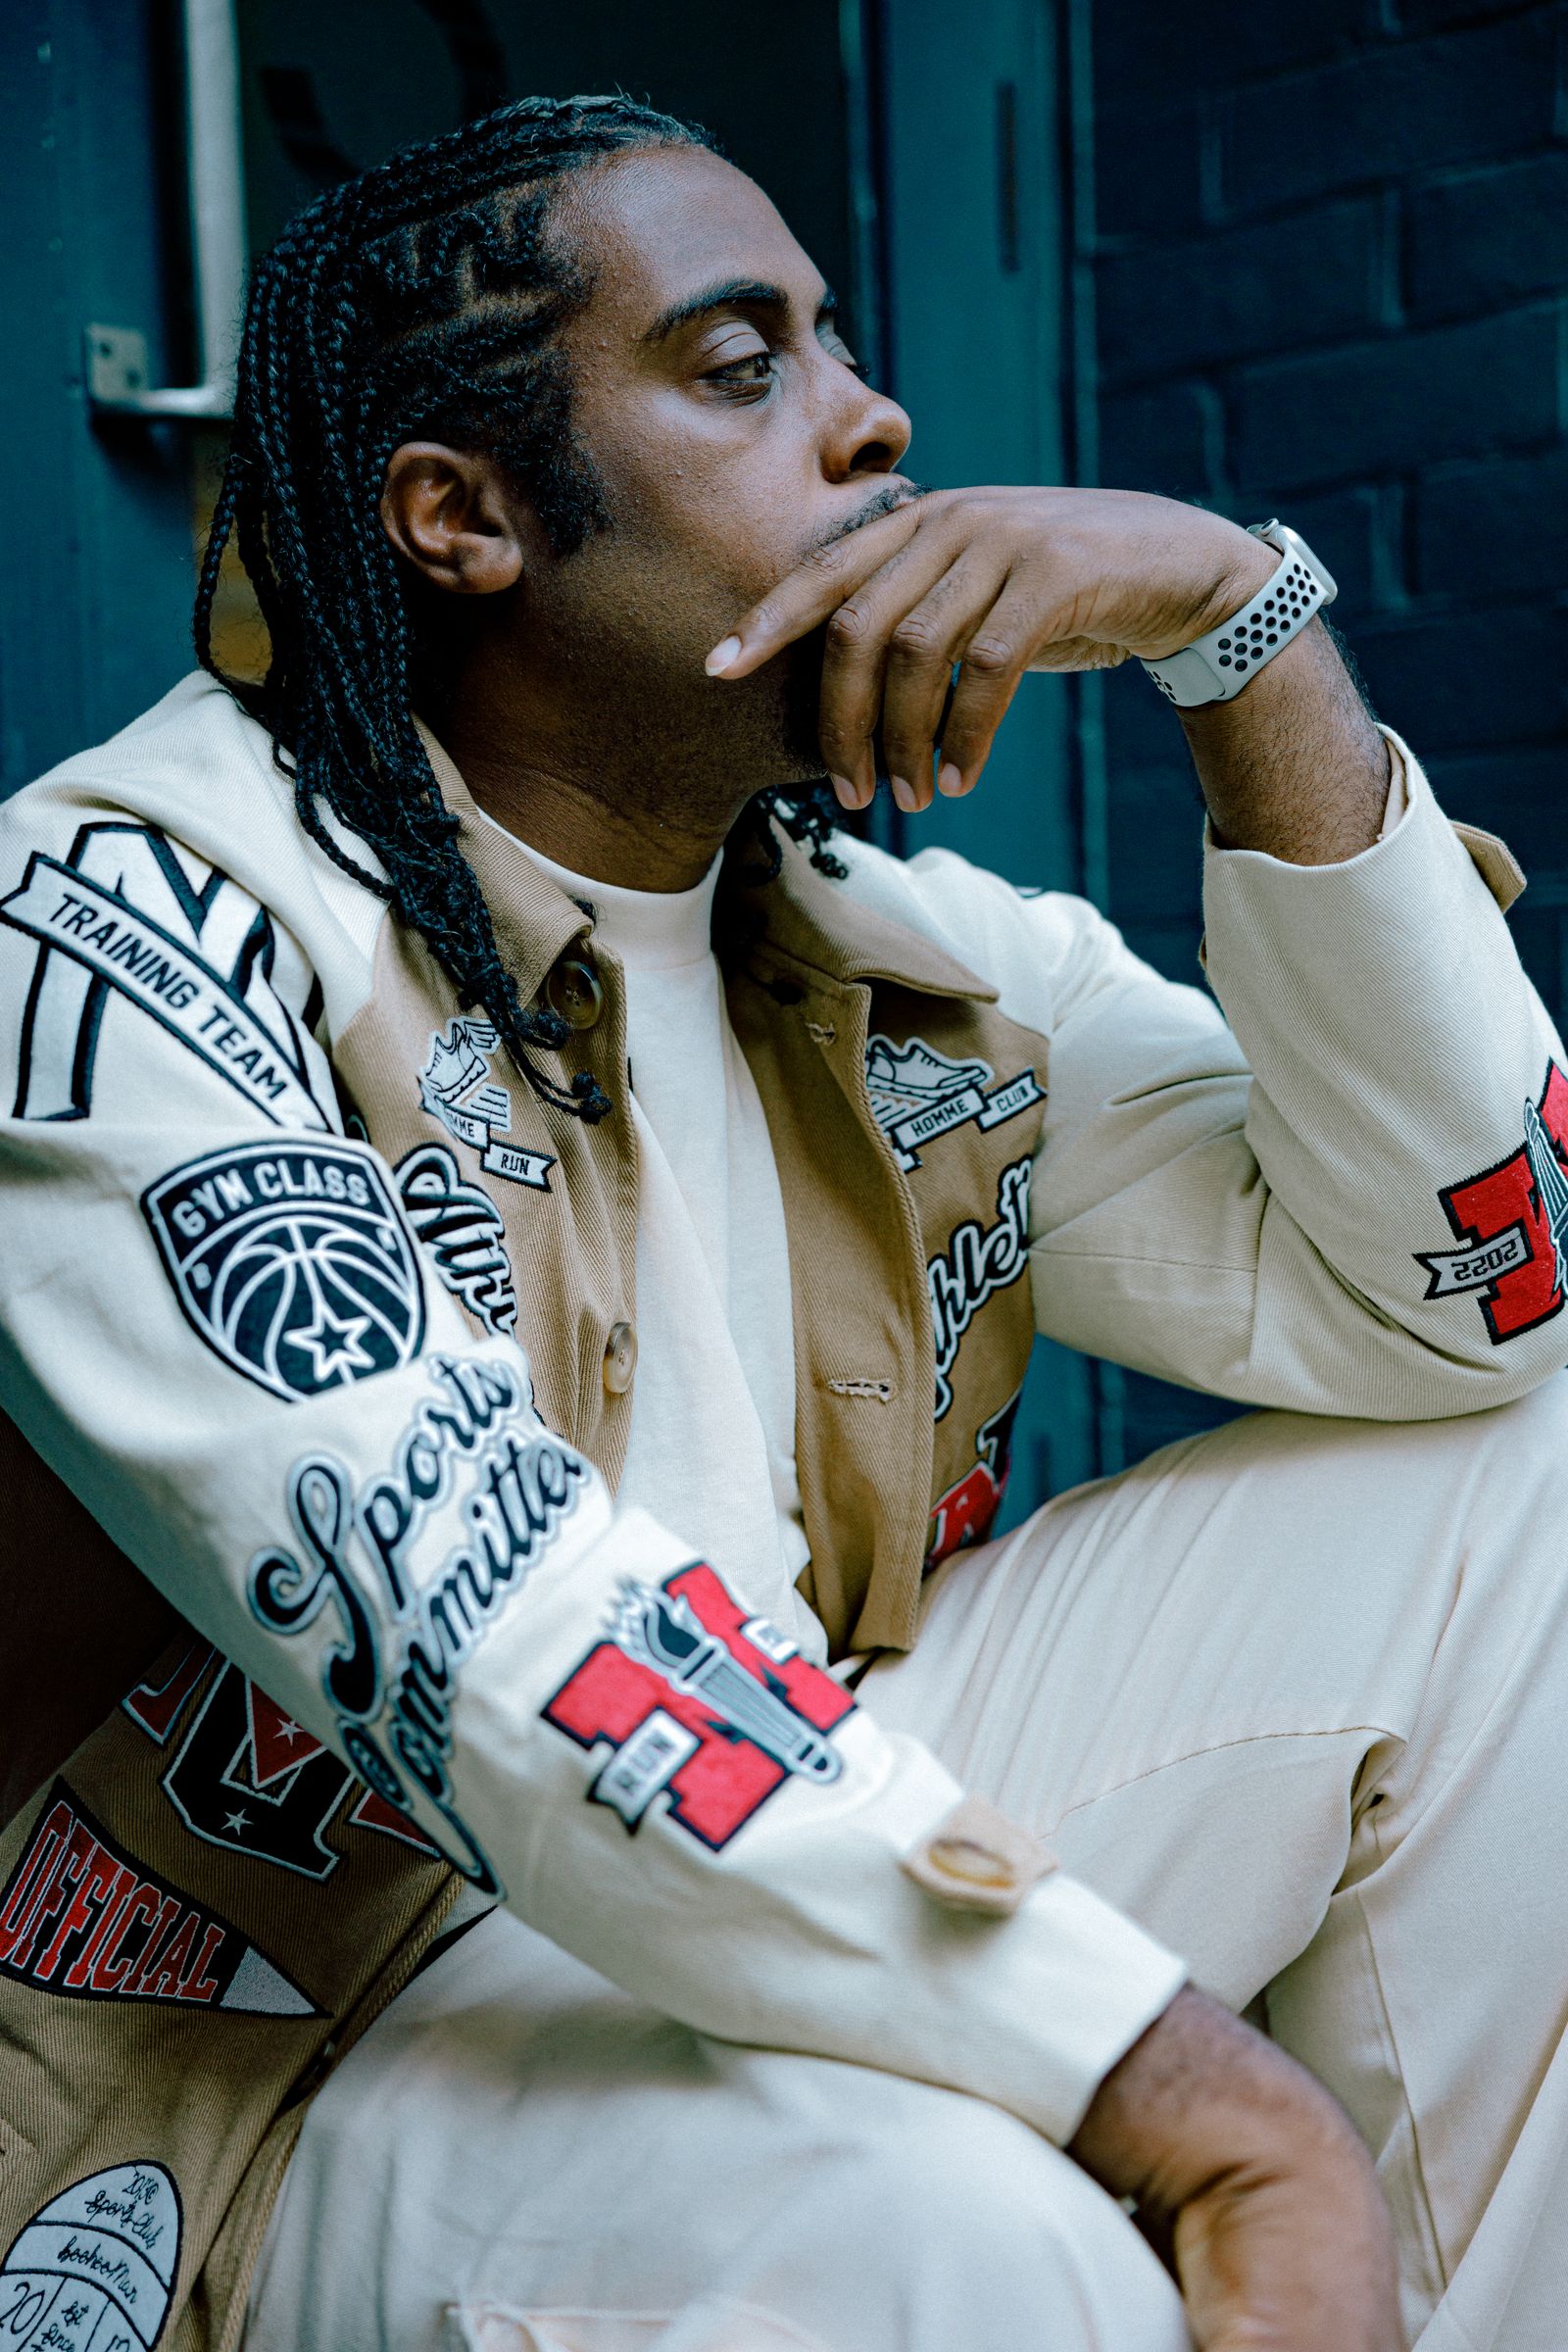
Embroidery patches use thicker threads and raised stitching. They work best for bold logos, simple icons, and designs with limited text. Sports teams and streetwear labels often prefer this style for its texture and durability.
Woven patches use finer threads and tighter weaves. They capture small text, gradients, and detailed artwork more clearly. Fashion brands often choose woven patches for labels, chest hits, or subtle branding.
- Best for — Embroidered: Bold designs — Woven: Fine details
- Texture — Embroidered: Raised — Woven: Flat
- Text clarity — Embroidered: Moderate — Woven: High
We help you match the method to your design before production. That step alone cuts revisions and speeds up quotes.
Digitizing Artwork for Manufacturing
Digitizing converts your artwork into machine-readable stitch data. This step controls stitch direction, density, and color changes.
Clean vector files produce better results. We recommend AI, EPS, or high-resolution PDF files whenever possible. Low-quality images increase setup time and can soften edges.
During digitizing, we adjust stitch counts to balance detail and durability. Dense stitching looks sharp but adds cost and stiffness. Sparse stitching reduces cost but may shorten lifespan.
Key checks we perform:
- Line thickness stays above minimum stitch limits
- Text remains legible at final patch size
- Color breaks align with thread changes
We review digitized proofs with you before sampling. Want us to check your files? Our free quote page includes artwork review.
Quality Control in Patch Production
Quality control protects consistency across every batch. We inspect samples before full production begins.
We check:
- Stitch accuracy against approved artwork
- Thread colors under neutral lighting
- Backing adhesion for iron-on or Velcro options
- Edge finishing, including merrowed or laser-cut borders
After production, we spot-check finished patches for loose threads and alignment issues. This process matters for fashion drops where inconsistency leads to returns.
At Custom Pins Now, we build quality checks into every order. If you want predictable results and clear timelines, start with a free quote and let us review your project details.
Brand Integration Strategies
Strong brand integration turns a patch into a functional design asset. Placement, attachment, and production choices all affect durability, cost, and how customers interact with your product. We focus on decisions that protect your brand identity while keeping production efficient.
Placement on Clothing and Accessories
Patch placement should support both visibility and wearability. High-visibility areas like left chest, back shoulder, and hat fronts work well for logos and brand marks. Low-profile spots like side seams, cuffs, and waistbands suit secondary graphics or limited-edition details.
Streetwear labels often rotate placement to keep drops fresh. For example, sleeve or pant-leg patches signal exclusivity without crowding the main design.
Accessories also matter. Patches on tote bags, backpacks, and beanies extend brand reach beyond apparel. We recommend testing placement with physical samples before full production. Want help dialing this in? Our team at Custom Pins Now reviews placement during the free quote process.
Attachment Methods: Sew-On, Iron-On, and Adhesive
Attachment affects longevity, cost, and customer experience. Choose based on garment type and use case.
- Sew-On — Best For: Premium apparel, uniforms — Key Considerations: Most durable; higher labor cost
- Iron-On — Best For: Retail apparel, DIY appeal — Key Considerations: Fast application; heat-sensitive fabrics need care
- Adhesive — Best For: Temporary use, samples — Key Considerations: Not wash-safe; short-term only
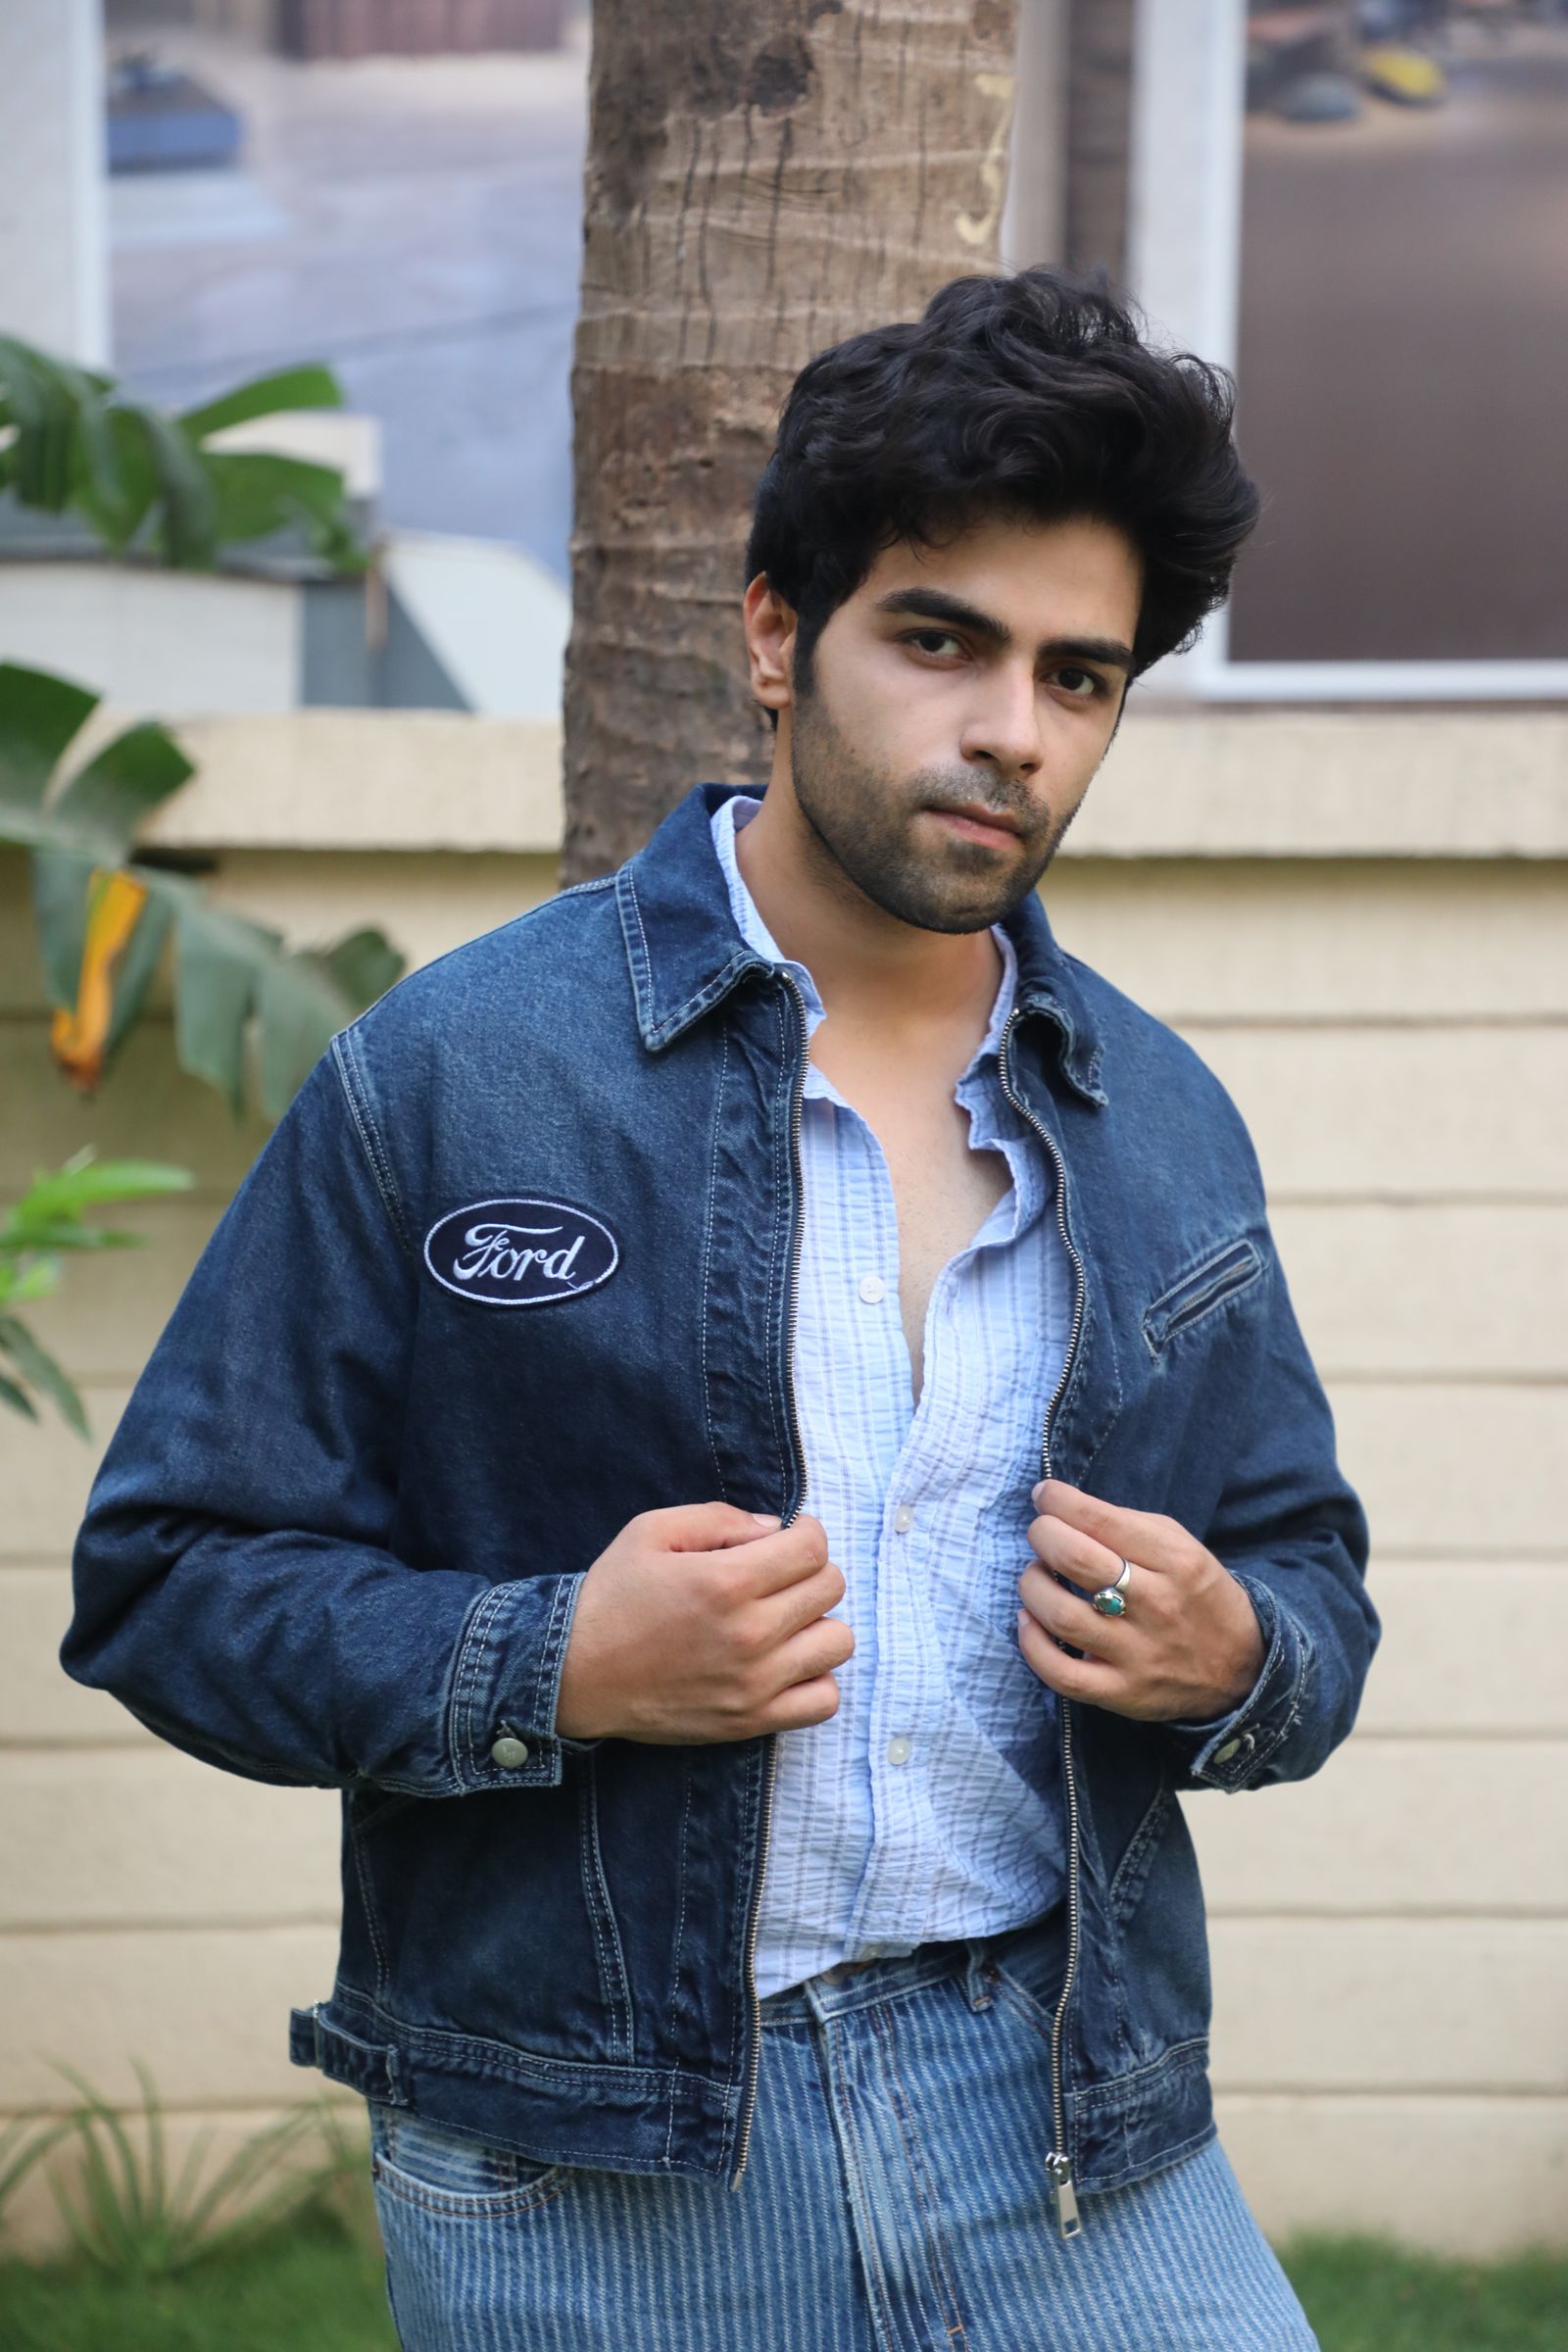
Sew-on patches suit heavy fabrics like denim and canvas. Iron-on patches appeal to DIY culture, which continues to drive patch demand. Adhesive options work for events or testing designs. We help you match the method to your product goals during quoting.
Collaborating with Manufacturers
Early collaboration prevents delays and rework. Share artwork files, size specs, stitch counts, and color codes before sampling. This keeps your patches consistent across runs.
Ask manufacturers about minimum order quantities, production timelines, and quality controls. For fashion drops, timing matters as much as design. Clear schedules protect launch dates.
We also recommend requesting pre-production samples. They reveal issues with thread density, backing, or color accuracy. At Custom Pins Now, we coordinate directly with manufacturers and flag risks early. If you want fewer revisions and predictable costs, start with a detailed free quote and production plan.